Conclusion:
Cricut Shadow Box SVGs open up a world of creative possibilities for papercrafters of all levels. With the right tools and materials, you can easily design and make stunning 3D shadow boxes that add a touch of elegance and depth to any space. Whether you’re a seasoned pro or just starting out, this comprehensive guide will provide you with all the knowledge and inspiration you need to create your own unique shadow box masterpieces.

Table of Content
Conclusion:
- Cricut cutting machine
- Cricut Design Space software
- Cardstock or paper
- Glue or adhesive
- Scoring tool
- Ruler or measuring tape
- Optional: Embellishments (such as ribbon, buttons, or sequins)
- Christmas Shadow Box SVG Christmas Shadow Box SVG: A Festive Delight For Your Holiday Decor
- Layered Shadow Box SVG Free Dive Into The Enchanting World Of Layered Shadow Boxes: A Comprehensive Guide With Free SVG Files
- Free Shadow Box Template For Cricut Elevate Your Crafting With Free Shadow Box Templates For Cricut: A Comprehensive Guide
- 3d Shadow Box SVG Free 3D Shadow Box SVG Free: Elevate Your Paper Crafts With Depth And Dimension
- Free Shadow Box SVG Free Shadow Box SVG: Elevate Your Papercraft Creations

Cricut Shadow Box SVGs open up a world of creative possibilities for papercrafters of all levels. With the right tools and materials, you can easily design and make stunning 3D shadow boxes that add a touch of elegance and depth to any space. Whether you’re a seasoned pro or just starting out, this comprehensive guide will provide you with all the knowledge and inspiration you need to create your own unique shadow box masterpieces.
Understanding Cricut Shadow Boxes
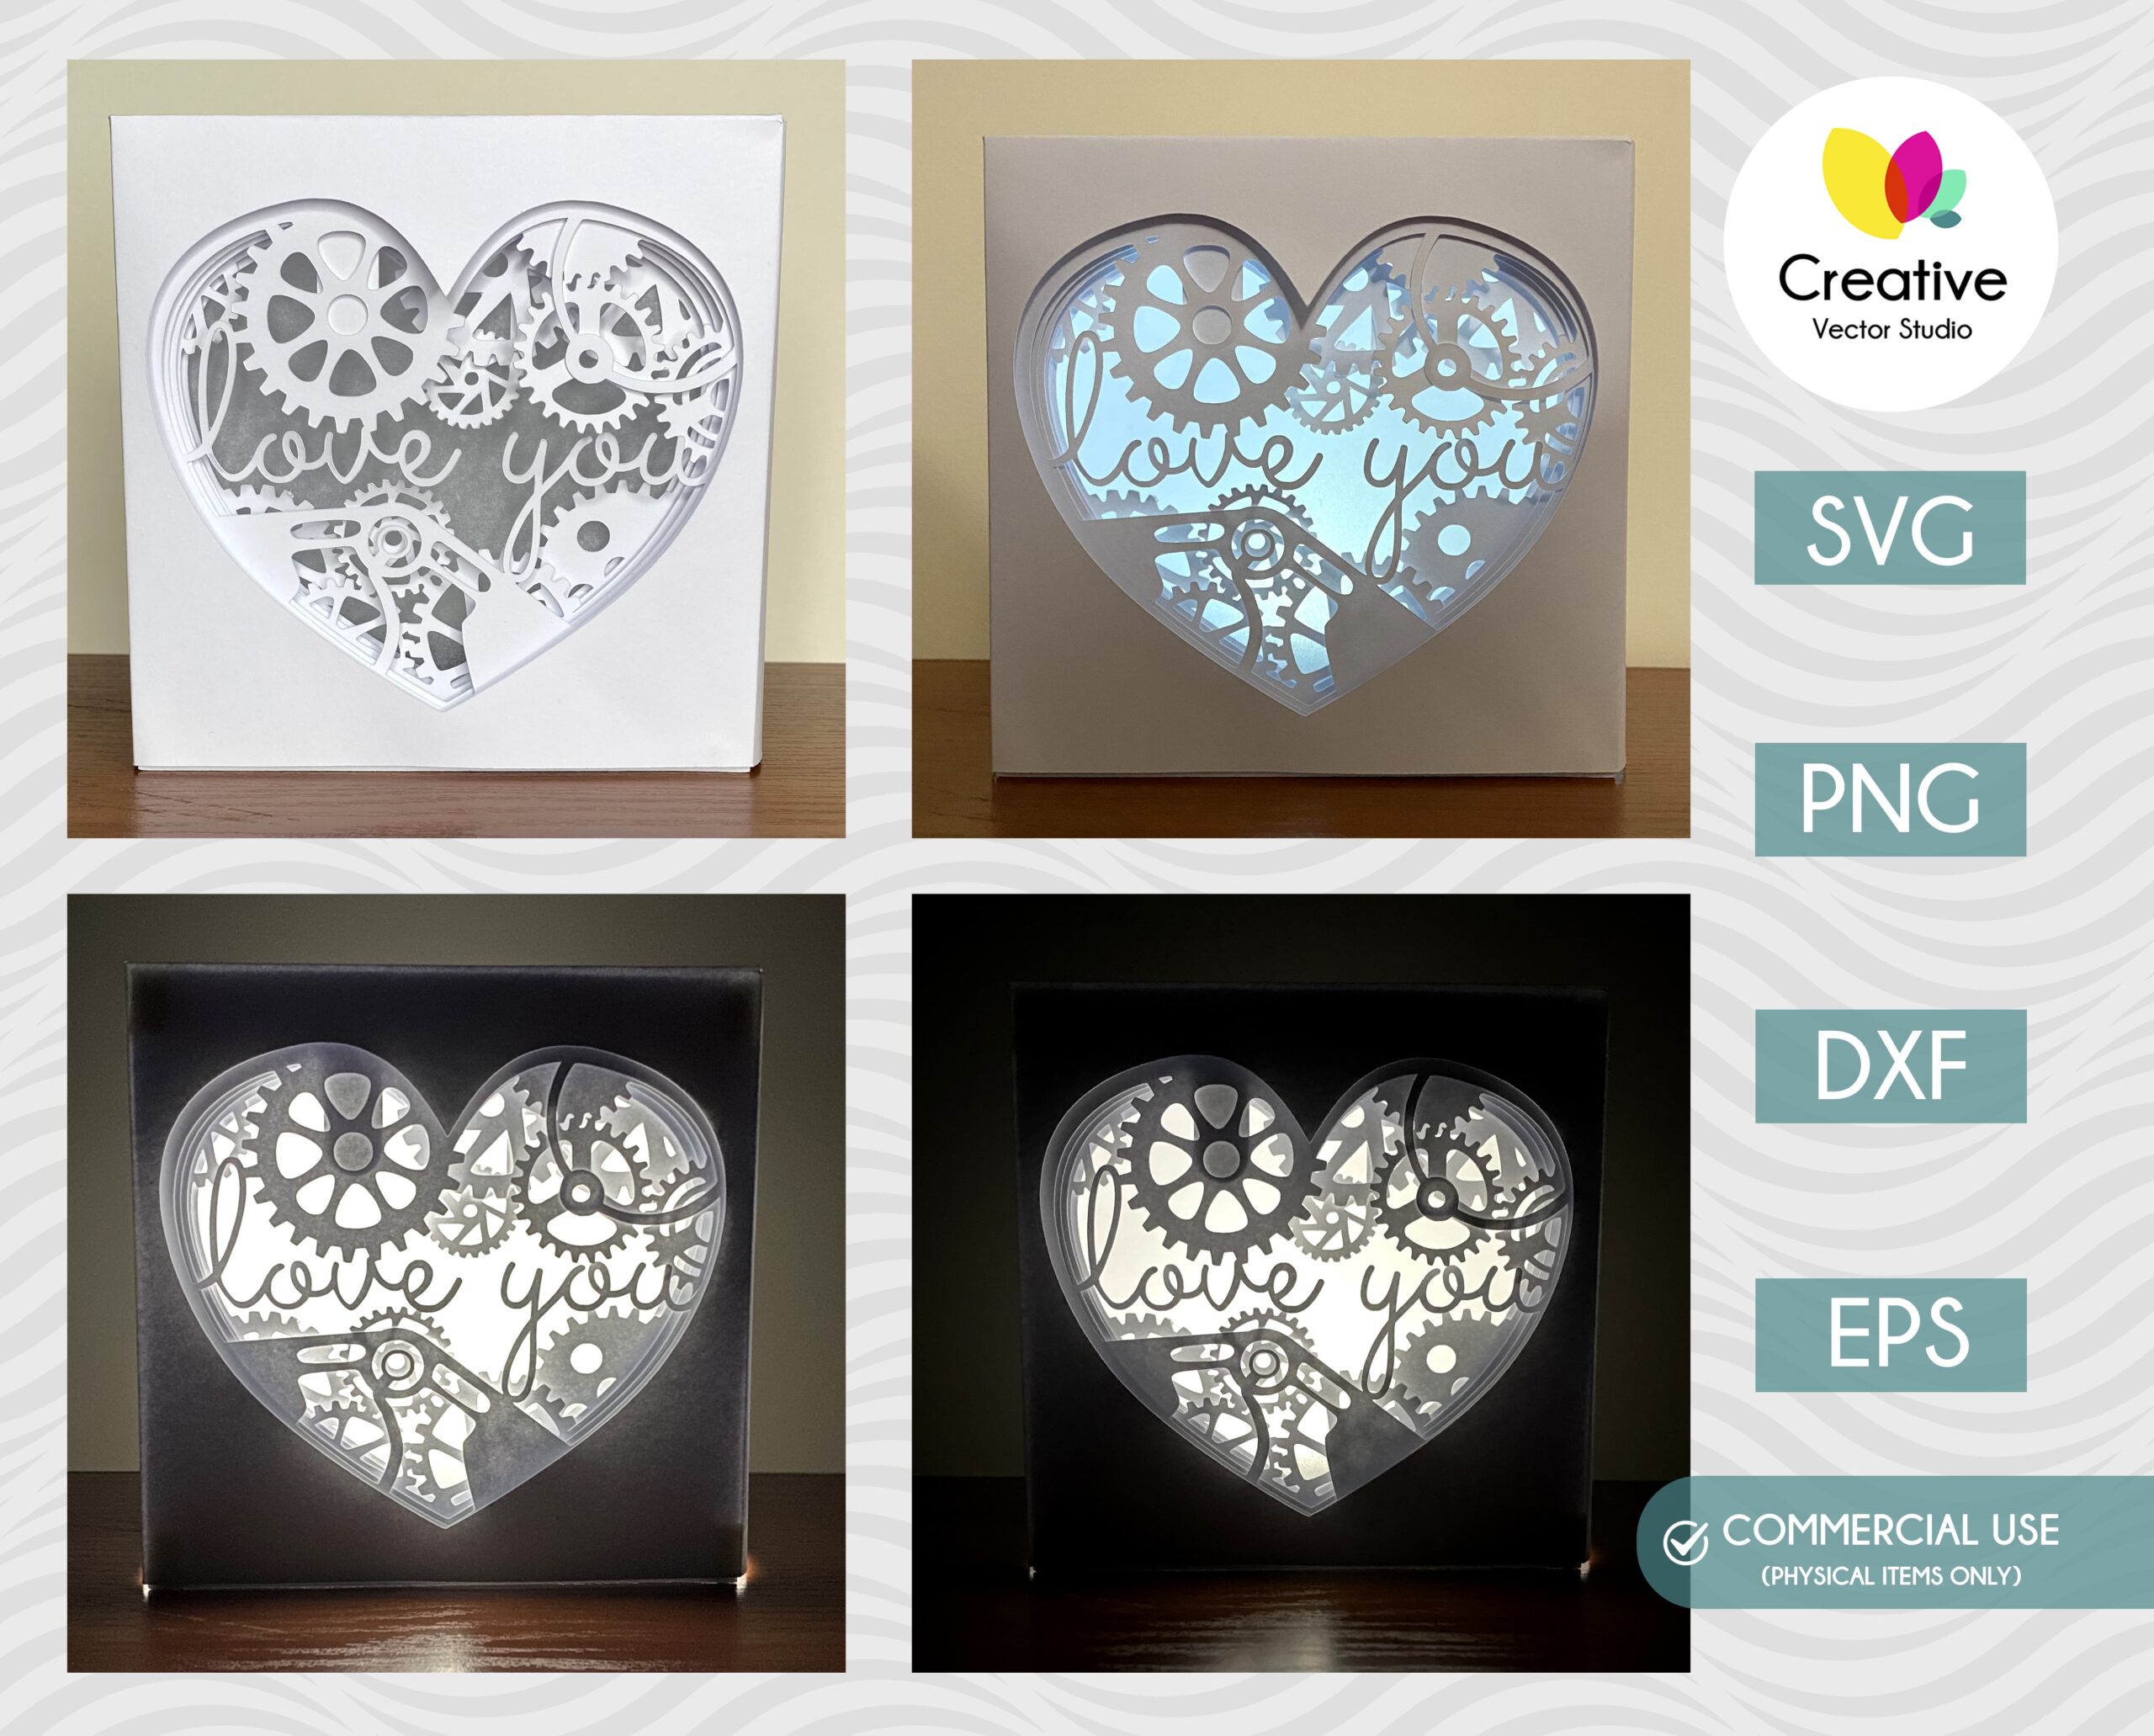
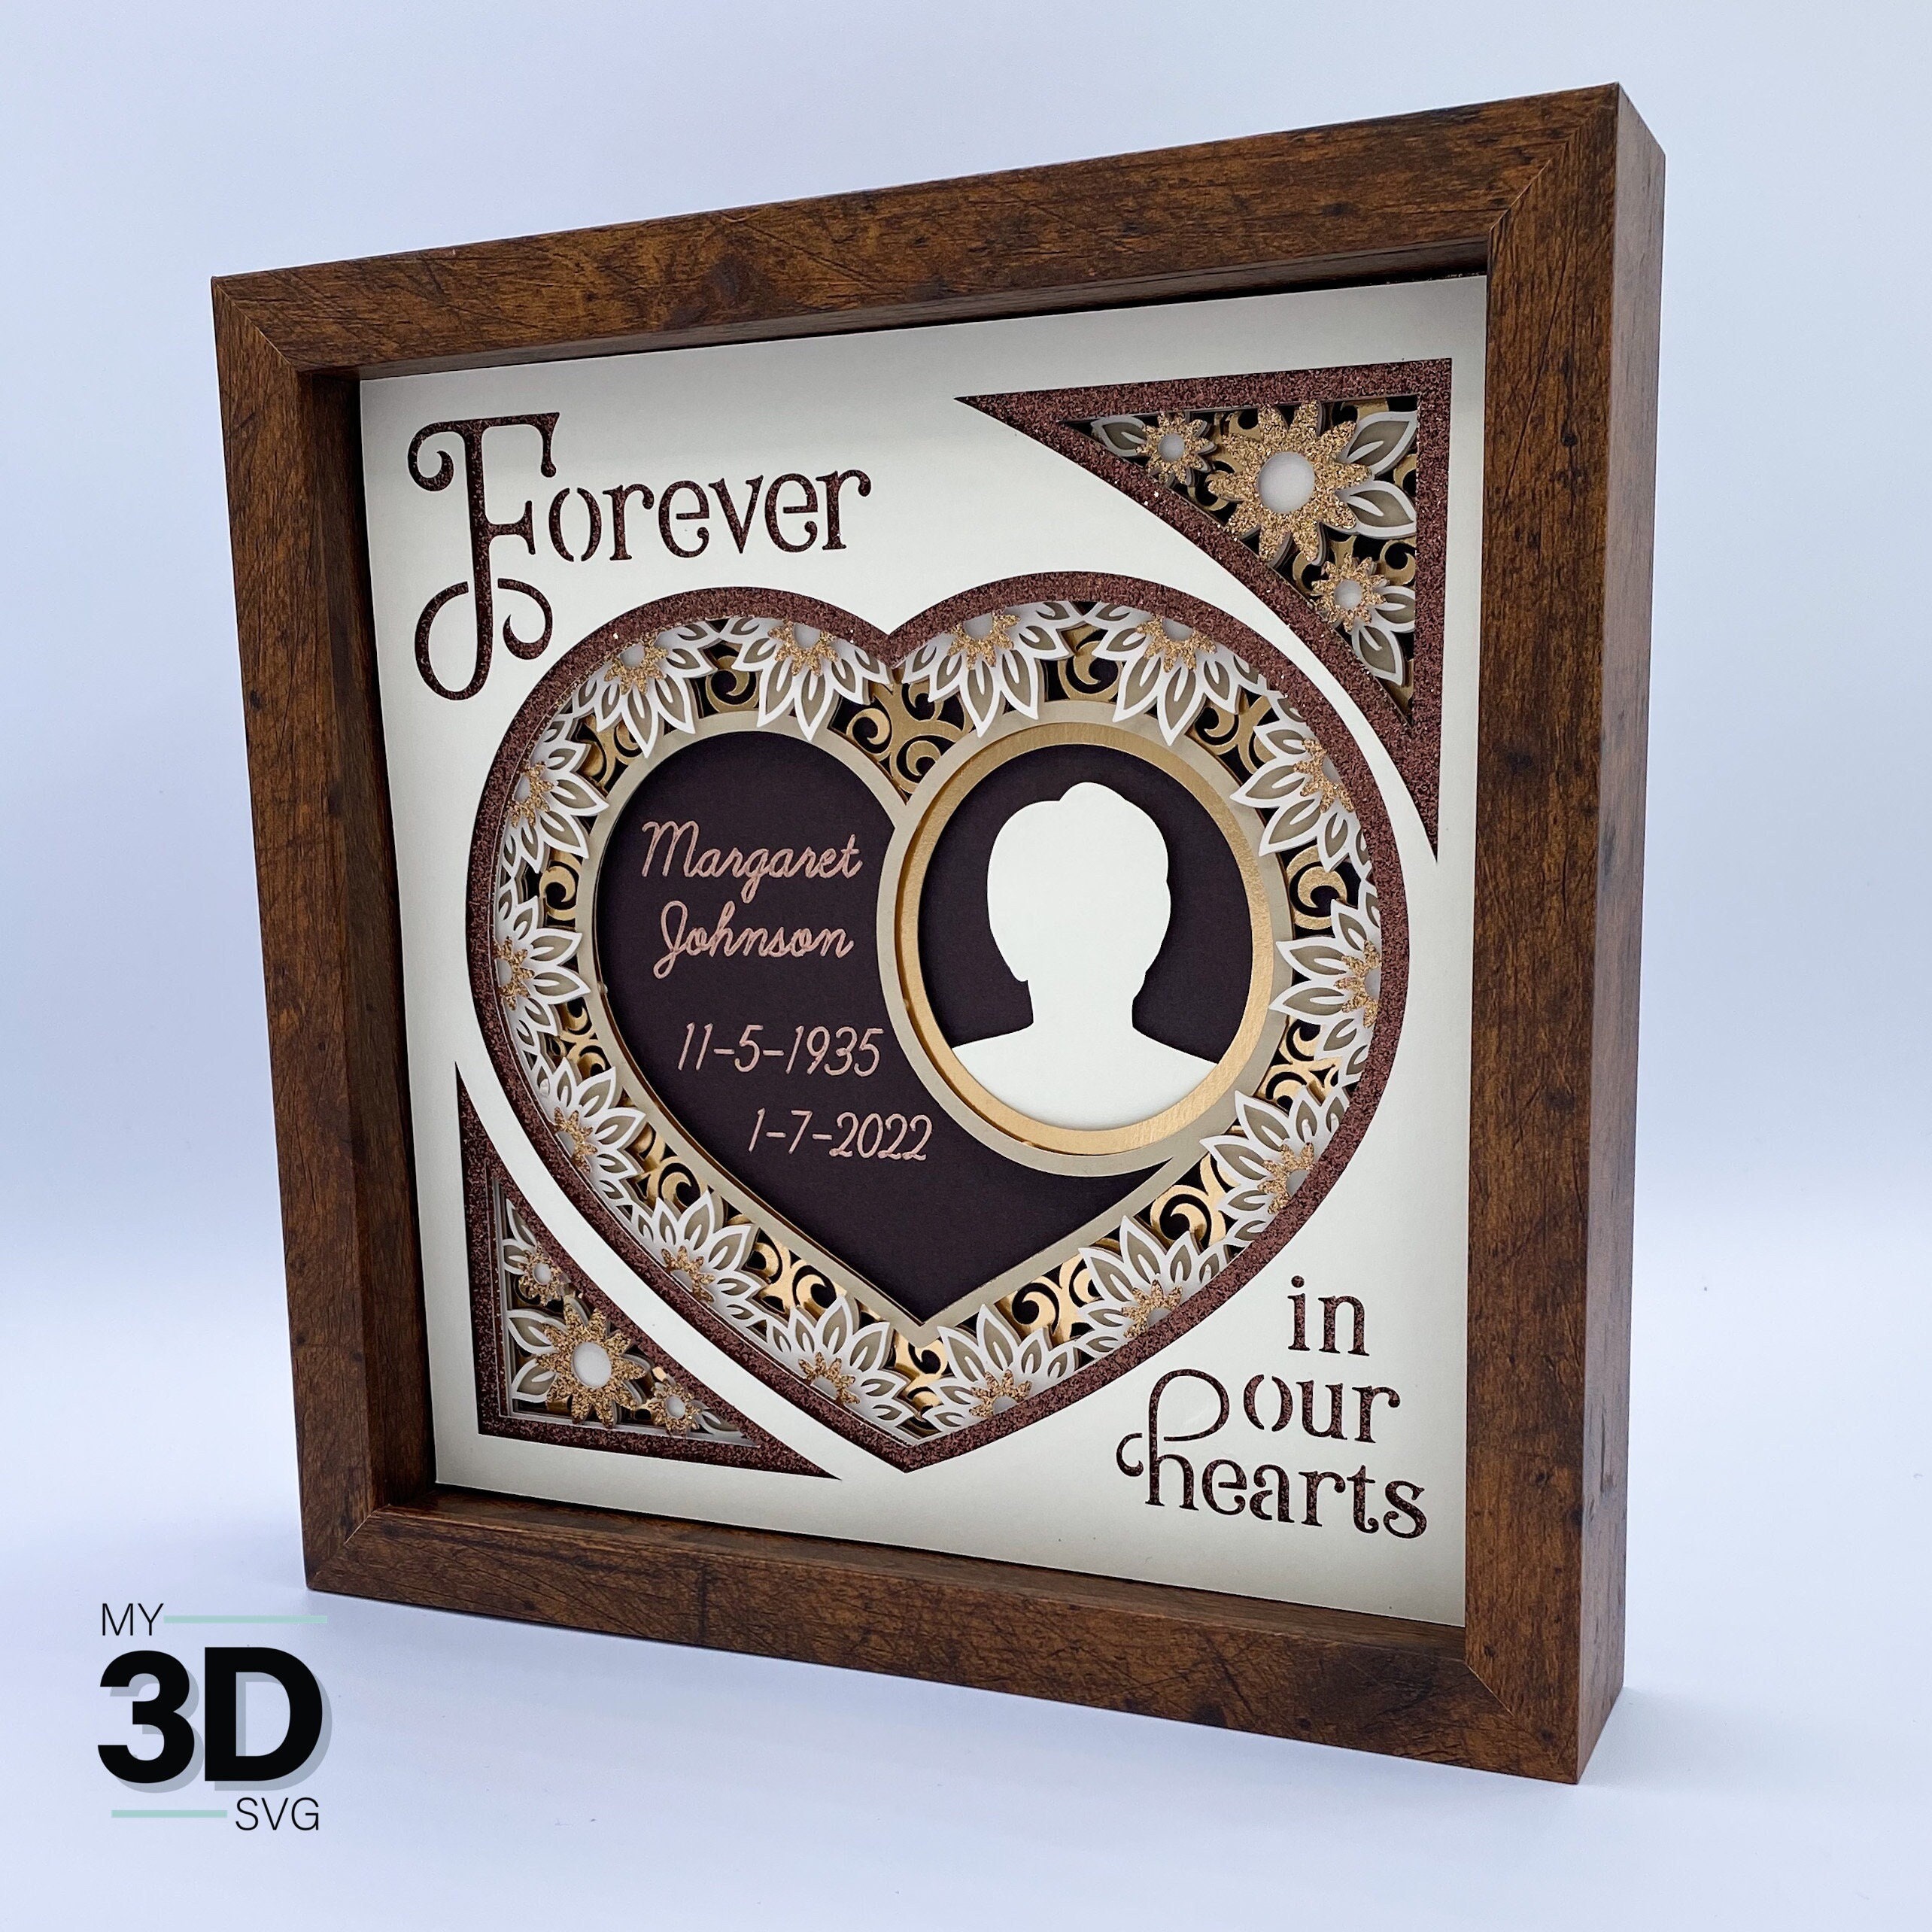
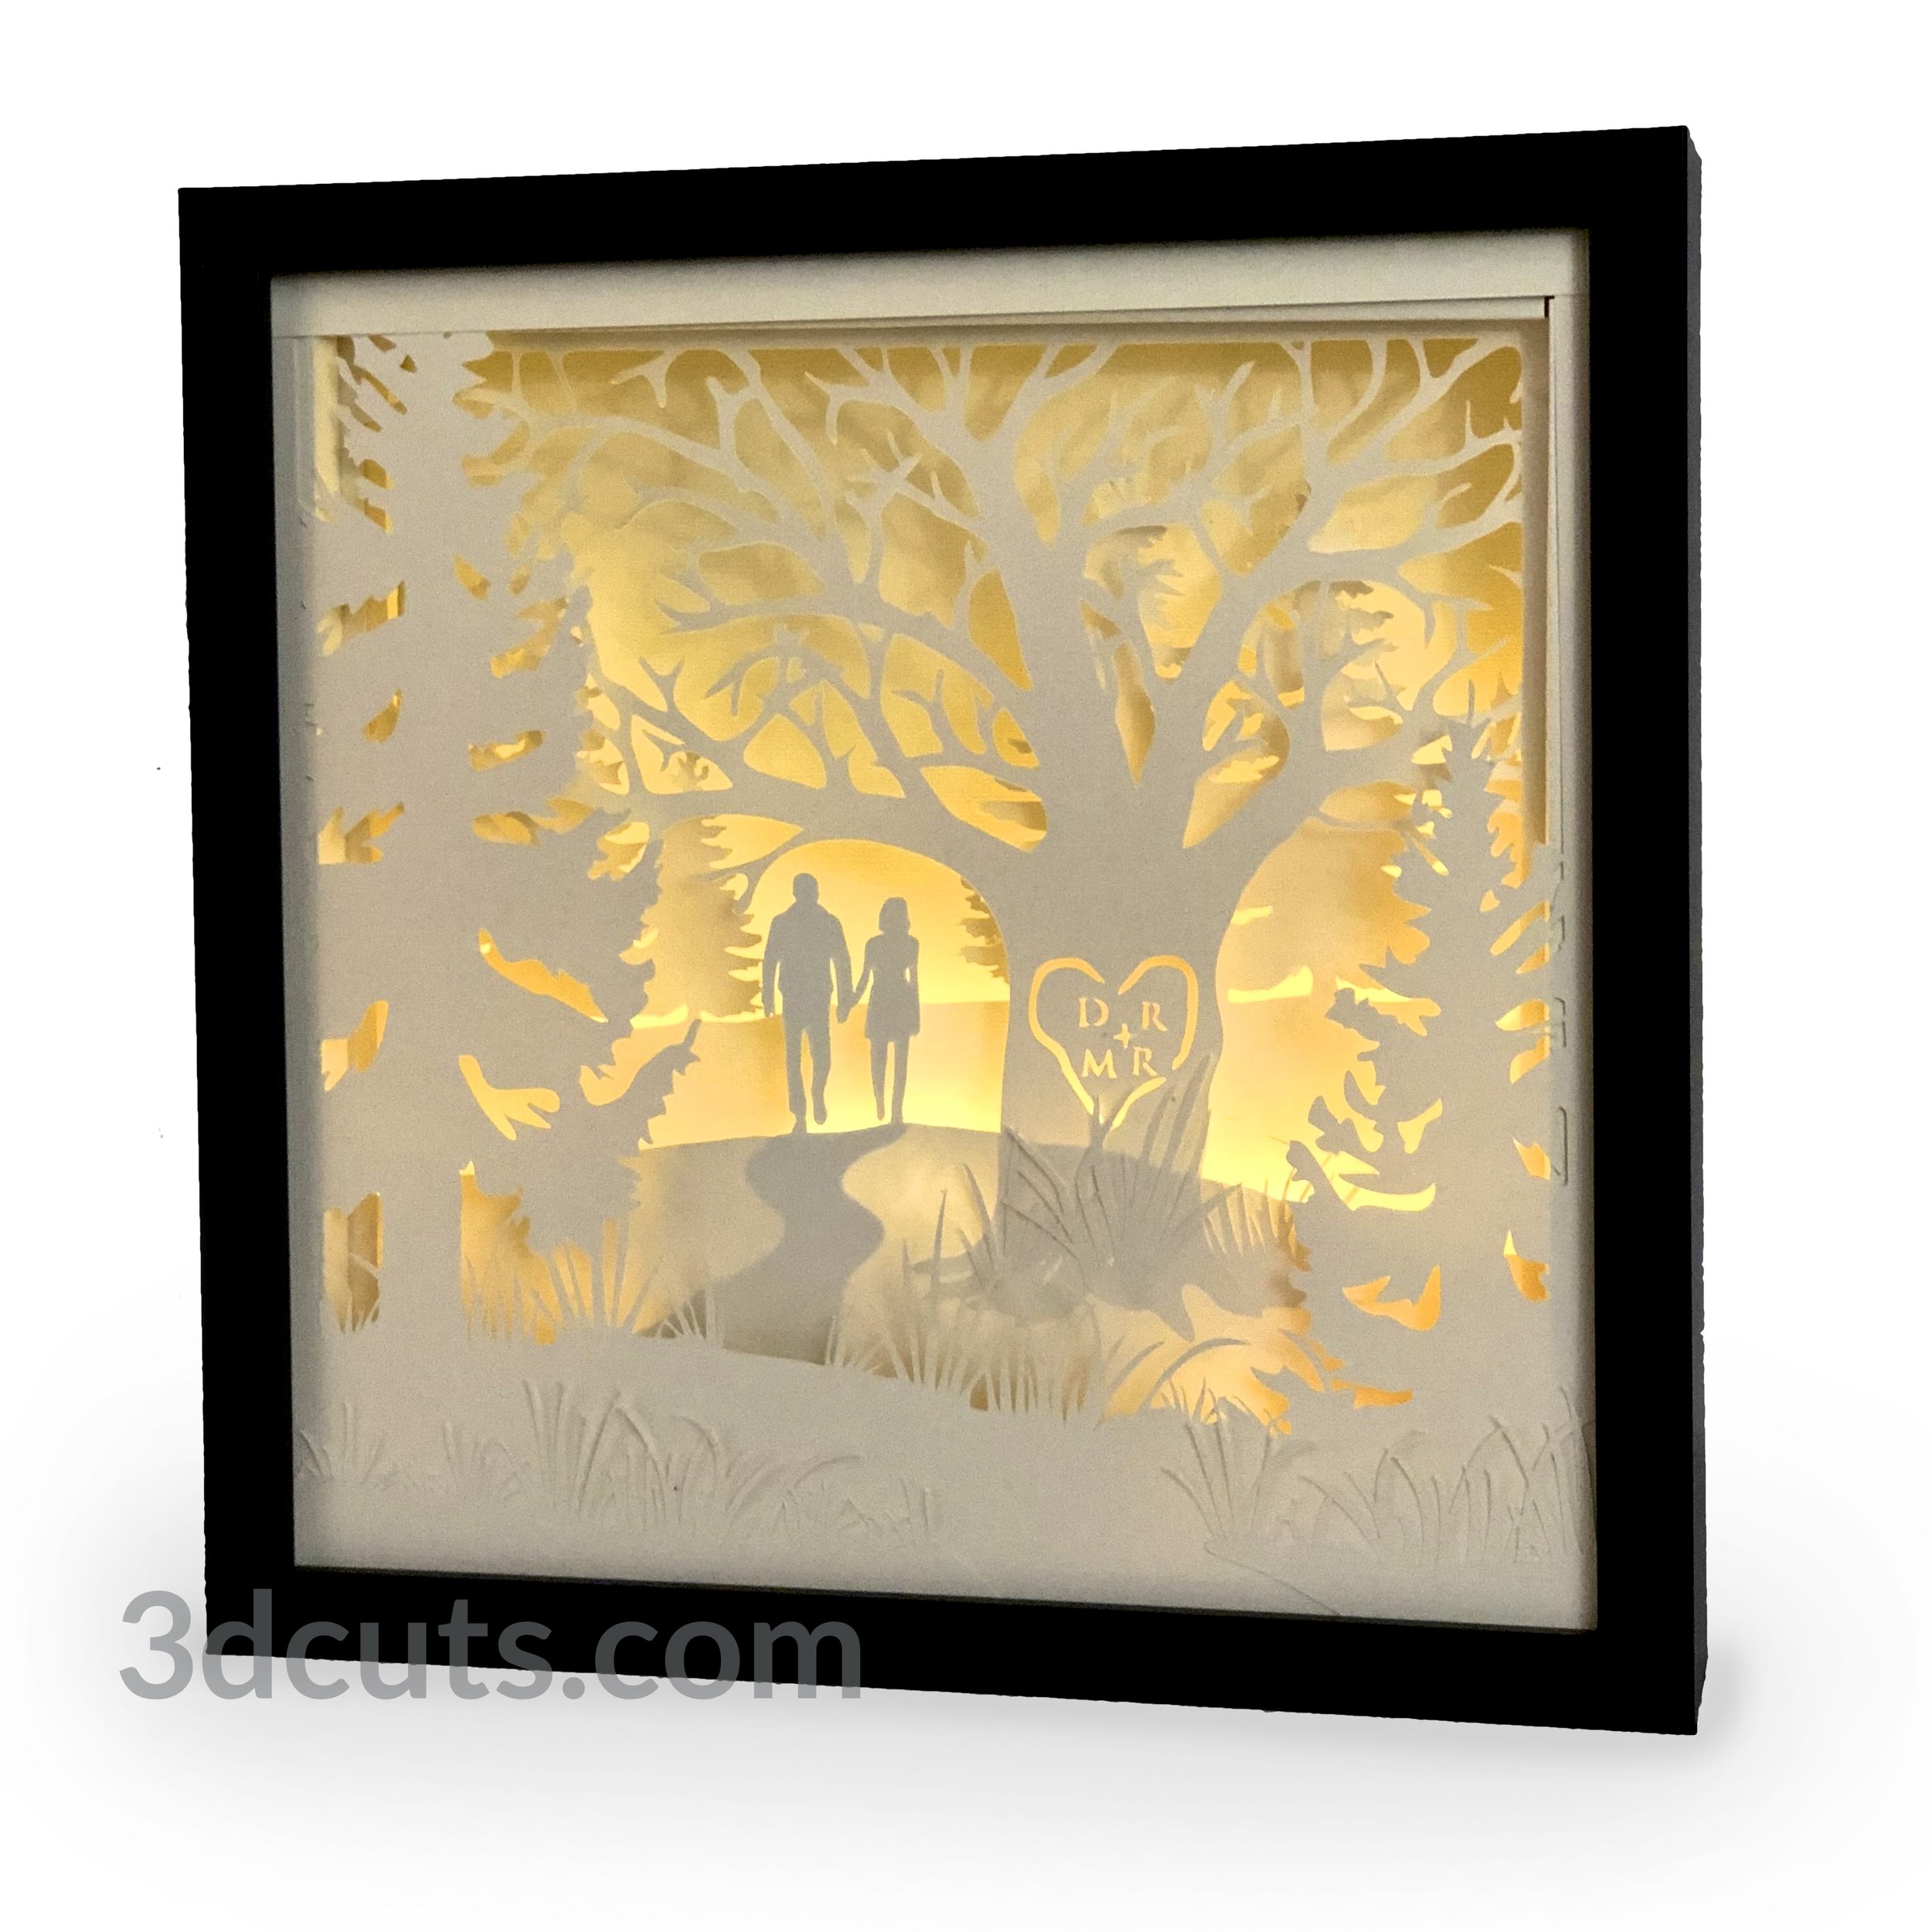
A Cricut shadow box is a three-dimensional papercraft project that uses multiple layers of paper or cardstock to create a layered effect. The layers are stacked and glued together to form a box-like structure, with a window on one side that reveals the layered design. Shadow boxes can be used to display a variety of items, such as photos, artwork, or small objects.
Tools and Materials You’ll Need
To create a Cricut shadow box, you will need the following tools and materials:
Step-by-Step Instructions
- Design your shadow box in Cricut Design Space: Choose a shadow box SVG file or create your own design using the shapes and tools in Design Space.
- Cut your materials: Load your cardstock or paper onto your Cricut cutting mat and send the design to your machine to cut.
- Score and fold the layers: Use a scoring tool to score the fold lines on the layers. Fold the layers along the scored lines to create the box shape.
- Assemble the box: Apply glue or adhesive to the tabs on the layers and assemble the box. Make sure the layers are aligned correctly.
- Add embellishments: If desired, add embellishments to your shadow box to personalize it. You can use ribbon, buttons, sequins, or any other embellishments that you like.
Design Tips
- Choose a variety of colors and patterns: Use different colors and patterns of cardstock or paper to create a visually interesting shadow box.
- Layer different shapes and sizes: Combine different shapes and sizes of layers to add depth and dimension to your design.
- Use negative space: Leave some negative space (empty areas) in your design to create a sense of balance and harmony.
- Experiment with different embellishments: Don’t be afraid to experiment with different embellishments to find the perfect combination for your shadow box.
Troubleshooting Tips
- My layers are not aligned correctly: Make sure that you are aligning the layers carefully before gluing them together. Use a ruler or measuring tape to ensure that the layers are even.
- My box is not sturdy: If your box is not sturdy, try using thicker cardstock or paper. You can also add additional layers to the box for added support.
- My embellishments are falling off: Use a strong adhesive to attach your embellishments to the shadow box. You can also use glue dots or double-sided tape for added security.
Frequently Asked Questions
Q: What is the difference between a shadow box and a diorama?
A: A shadow box is a three-dimensional papercraft project that uses multiple layers of paper or cardstock to create a layered effect, while a diorama is a three-dimensional model that typically includes objects and figures.
Q: What are some popular uses for Cricut shadow boxes?
A: Cricut shadow boxes can be used to display a variety of items, such as photos, artwork, small objects, and even jewelry. They can also be used as home décor or as gifts.
Q: Can I sell Cricut shadow boxes that I make?
A: Yes, you can sell Cricut shadow boxes that you make. However, you must be careful not to infringe on any copyrights or trademarks. It is best to use your own original designs or to purchase commercial-use licenses for any designs that you use.
Conclusion
Cricut Shadow Box SVGs offer endless possibilities for creativity and personalization. With the right tools and materials, you can easily design and make stunning 3D shadow boxes that will add a touch of elegance and depth to any space. Whether you’re a seasoned pro or just starting out, we encourage you to explore the world of Cricut shadow boxes and create your own unique masterpieces.