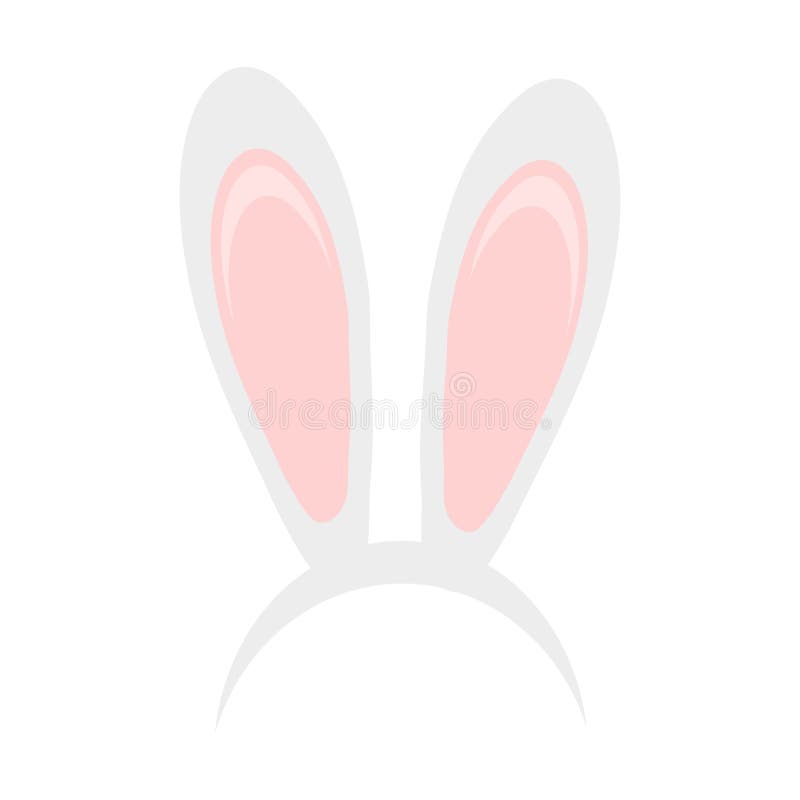
Embark on a whimsical crafting adventure as we delve into the world of Bunny Ears for Cricut. This comprehensive guide will equip you with all the knowledge and techniques you need to create charming and personalized bunny ears using your versatile Cricut machine. From choosing the perfect materials to mastering intricate designs, we’ll guide you through every step of the process, ensuring you achieve adorable and unforgettable results.
Subheading 1: Materials and Tools
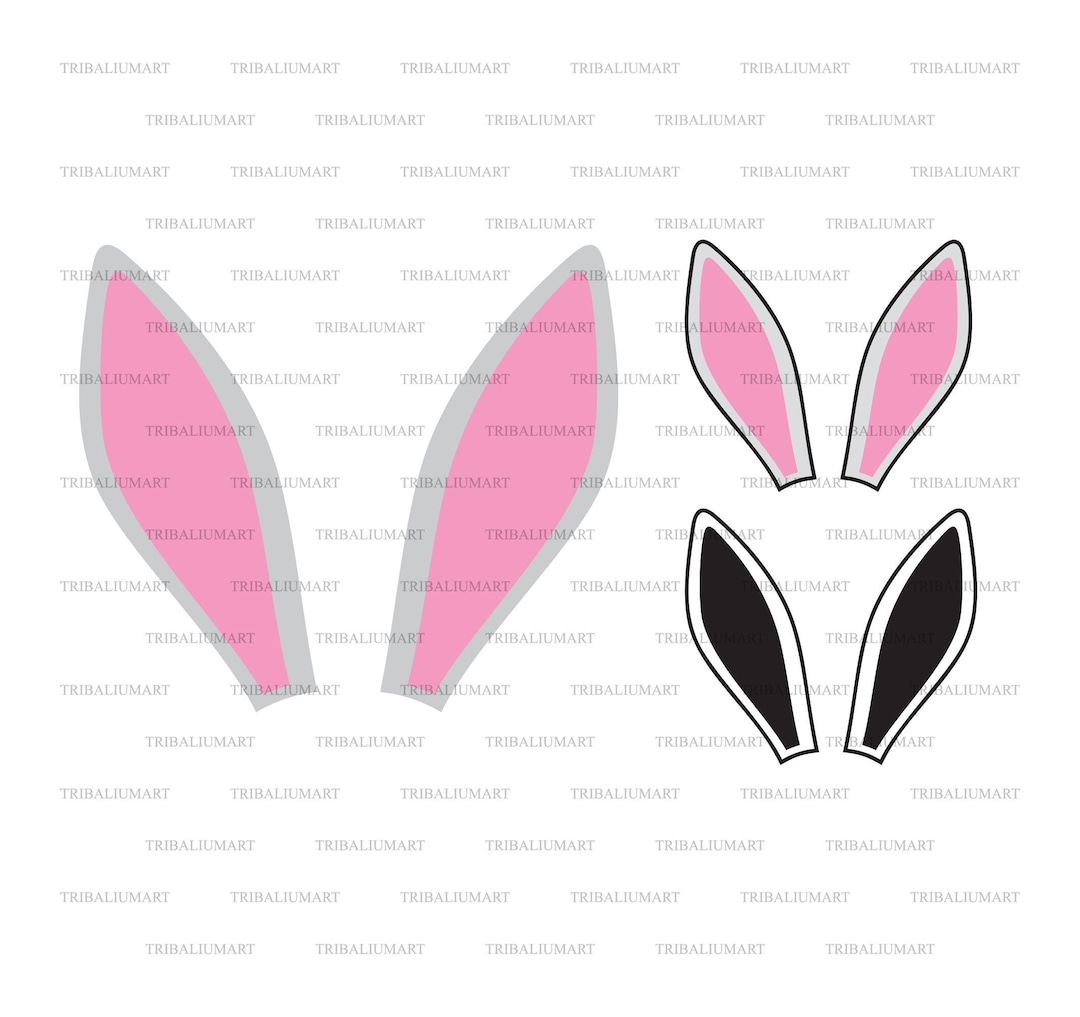
Table of Content
Embark on a whimsical crafting adventure as we delve into the world of Bunny Ears for Cricut. This comprehensive guide will equip you with all the knowledge and techniques you need to create charming and personalized bunny ears using your versatile Cricut machine. From choosing the perfect materials to mastering intricate designs, we’ll guide you through every step of the process, ensuring you achieve adorable and unforgettable results.
Tools:

- Cricut Machine: A Cricut machine is essential for cutting intricate bunny ear designs precisely.
- Cricut Design Space: Utilize the Cricut Design Space software to create and customize your bunny ear designs.
- Scoring Tool (Optional): A scoring tool can help you create realistic folds and creases in your bunny ears.
- 3d Egg SVG 3D Egg SVG: An Intricate And Versatile Craft Essential
- 3d Easter Egg SVG Unleash Your Creativity With Captivating 3D Easter Egg SVGs
- Bunny Bait SVG Bunny Bait SVG: The Ultimate Guide To Creating Enchanting Easter Crafts
- Bunny Ear Bow SVG Bunny Ear Bow SVG: The Ultimate Guide To A Hoppy Craft
- Bubblegum Bunny SVG Bubblegum Bunny SVG: A Delightful Design For Your Creative Endeavors
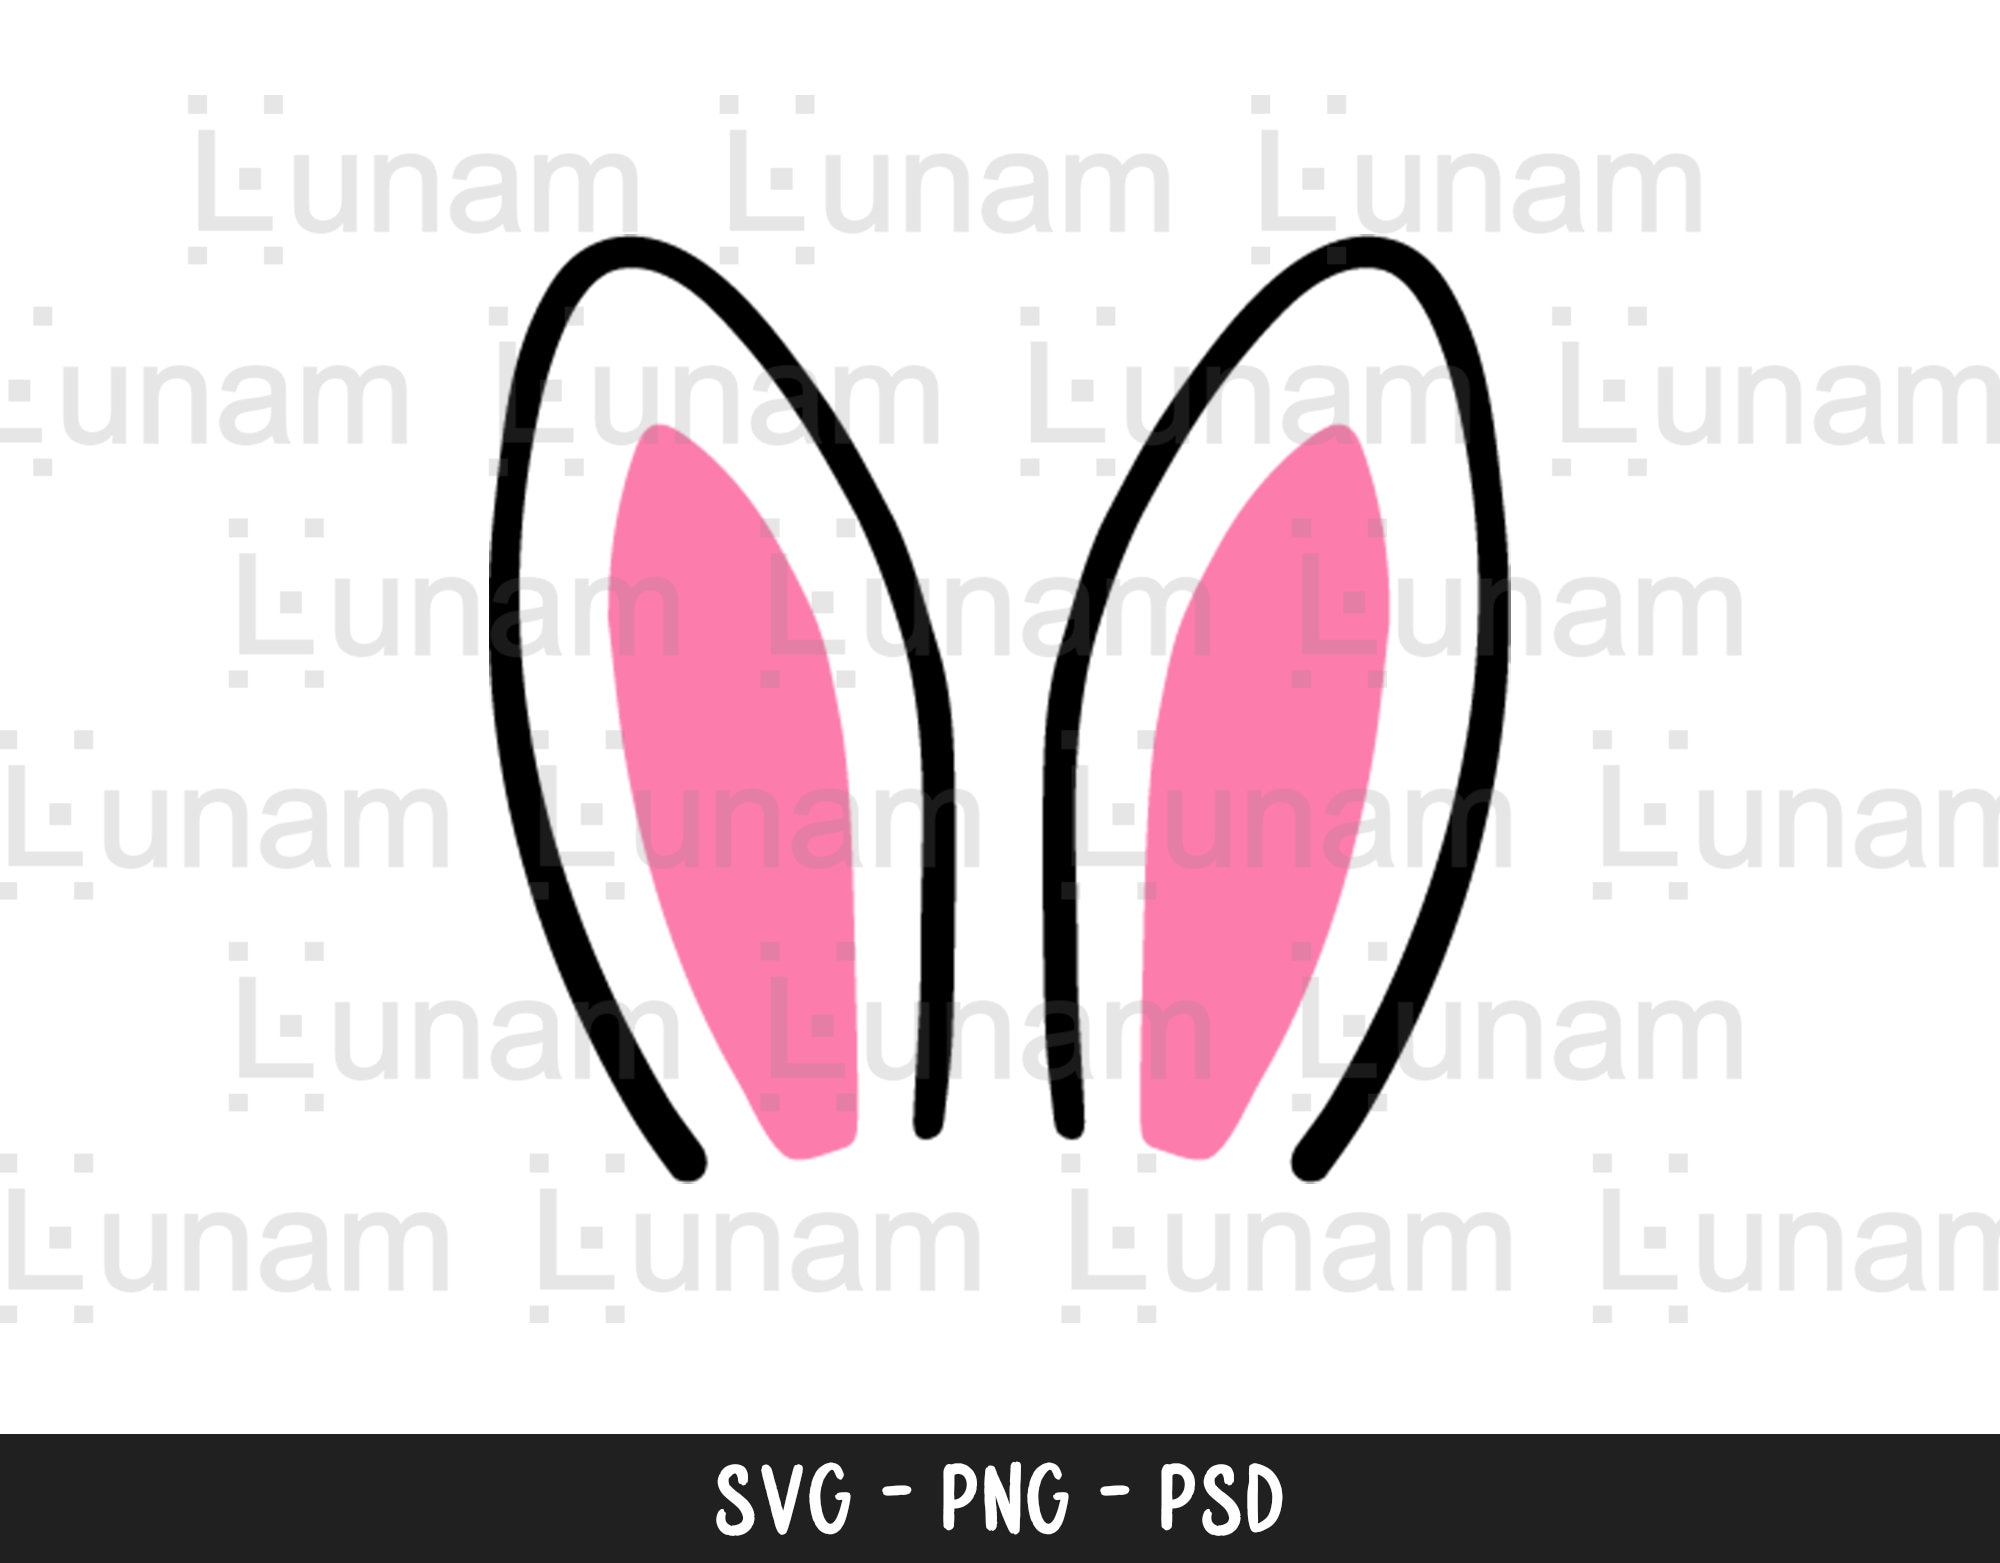
- Cardstock: Choose high-quality cardstock in various colors and patterns to match your desired bunny ear aesthetic.
- Glitter Cardstock (Optional): Add a touch of sparkle to your bunny ears with glitter cardstock.
- Browse the Cricut Design Space library for a wide variety of bunny ear designs.
- You can also create your own custom designs using the drawing tools in Design Space.
- Load the chosen cardstock into your Cricut machine and follow the on-screen instructions.
- Use the appropriate blade and settings for your cardstock thickness.
- Fold the bunny ear pieces along the scored lines to create the desired shape.
- Glue or tape the bunny ears together, ensuring they are secure.
- Attach the bunny ears to the headband using ribbon or elastic.
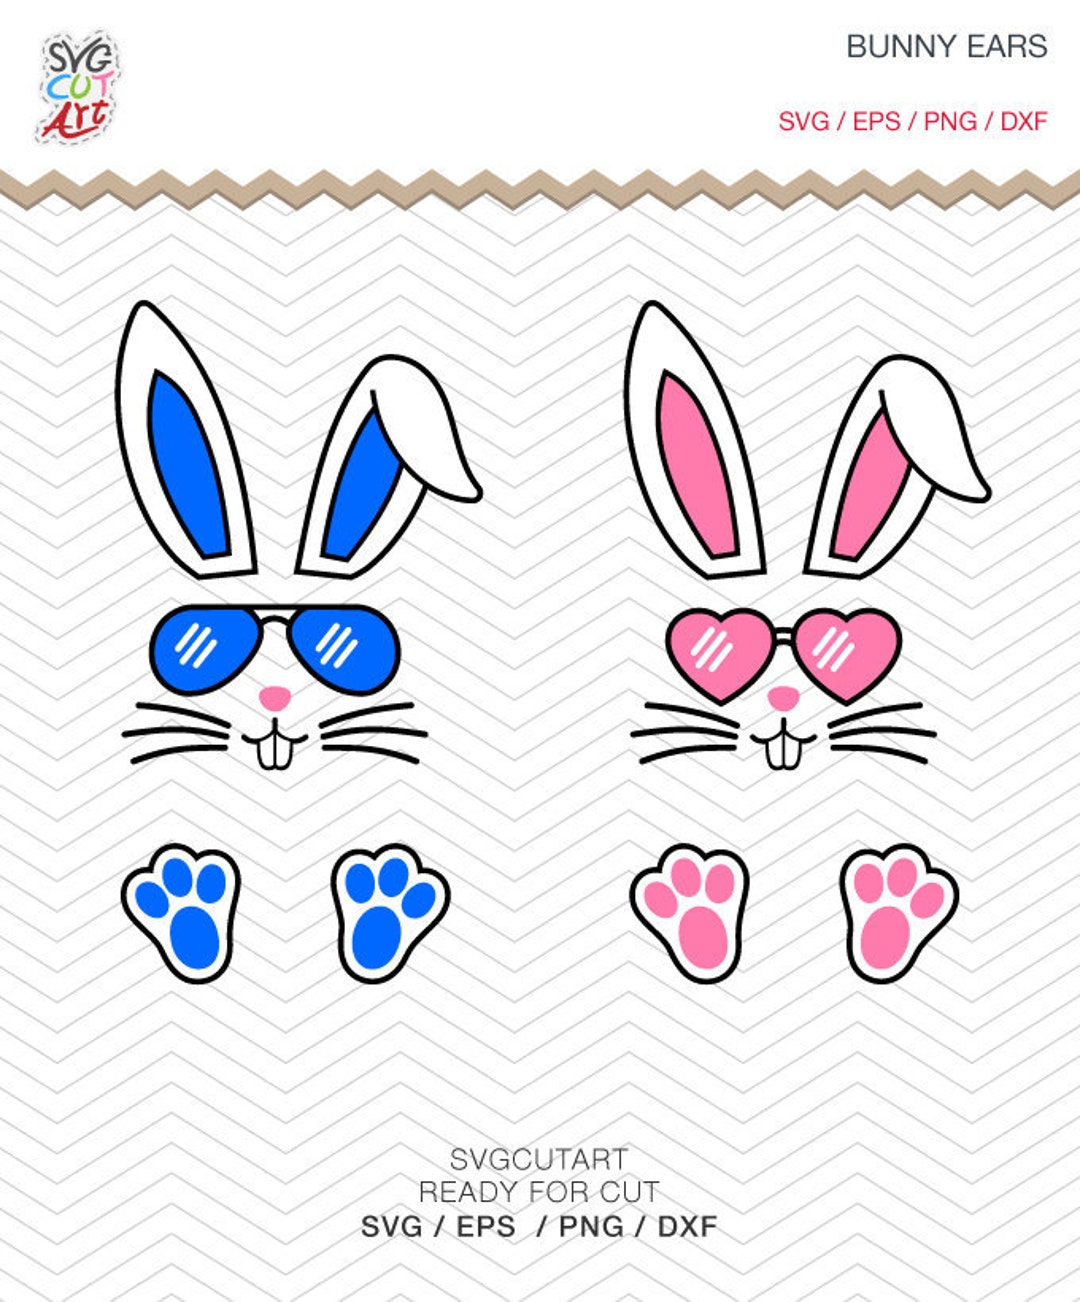
- Enhance your bunny ears with embellishments like sequins, glitter, or pom-poms.
- Use a hot glue gun to attach embellishments securely.
- Add a personal touch to your bunny ears by writing or drawing names or special messages on them.
- Use different colors and patterns to create unique and eye-catching designs.
- Bunny ears are too loose: Tighten the ribbon or elastic used to attach the bunny ears to the headband.
- Bunny ears are not standing up: Use a scoring tool to create deeper creases in the bunny ears, allowing them to stand more upright.
- Design is not cutting properly: Check the blade settings and make sure the blade is sharp. Also, ensure the cardstock is correctly loaded into the machine.
- Use high-quality materials for durability and a polished finish.
- Take your time and carefully follow the instructions.
- Experiment with different colors, patterns, and embellishments to create unique bunny ears.
- Share your creations with friends and family to spread the bunny ear cheer!
Subheading 1: Materials and Tools
Materials:
Subheading 2: Design and Creation
Choosing a Design:
Cutting the Design:
Assembling the Bunny Ears:
Subheading 3: Embellishments and Personalization
Embellishments:
Personalization:
Subheading 4: Troubleshooting and Tips
Common Problems and Solutions:
Tips for Success:
FAQ
Q: What type of cardstock is best for bunny ears?
A: Use high-quality cardstock with a weight of at least 80 lb for durability and a crisp cut.
Q: Can I use other materials besides cardstock?
A: Yes, you can use materials like felt, fabric, or even leather for a different look and texture.
Q: How do I adjust the headband size?
A: Use adjustable ribbon or elastic to create a headband that fits comfortably on your head.
Q: Can I make bunny ears without a Cricut machine?
A: While a Cricut machine makes the process easier and more precise, you can still create bunny ears by hand using scissors and glue.
Q: How do I store my bunny ears properly?
A: Store your bunny ears in a cool, dry place away from direct sunlight to prevent fading or damage.
Conclusion
With this comprehensive guide, you’re now equipped with the knowledge and skills to create adorable and personalized bunny ears using your Cricut machine. Whether you’re crafting for a special occasion, a cosplay, or simply for the joy of it, Bunny Ears for Cricut will bring endless charm and creativity to your life. So, gather your materials, fire up your Cricut, and let the bunny ear-making adventure begin!