Conclusion:
Bunny cut files are an adorable and versatile resource for crafters of all skill levels. From intricate paper crafts to personalized home décor, these versatile designs offer endless possibilities for creativity. Whether you’re a seasoned pro or just starting out, this comprehensive guide will provide you with everything you need to know about bunny cut files, including tips, tricks, and troubleshooting.

Conclusion:
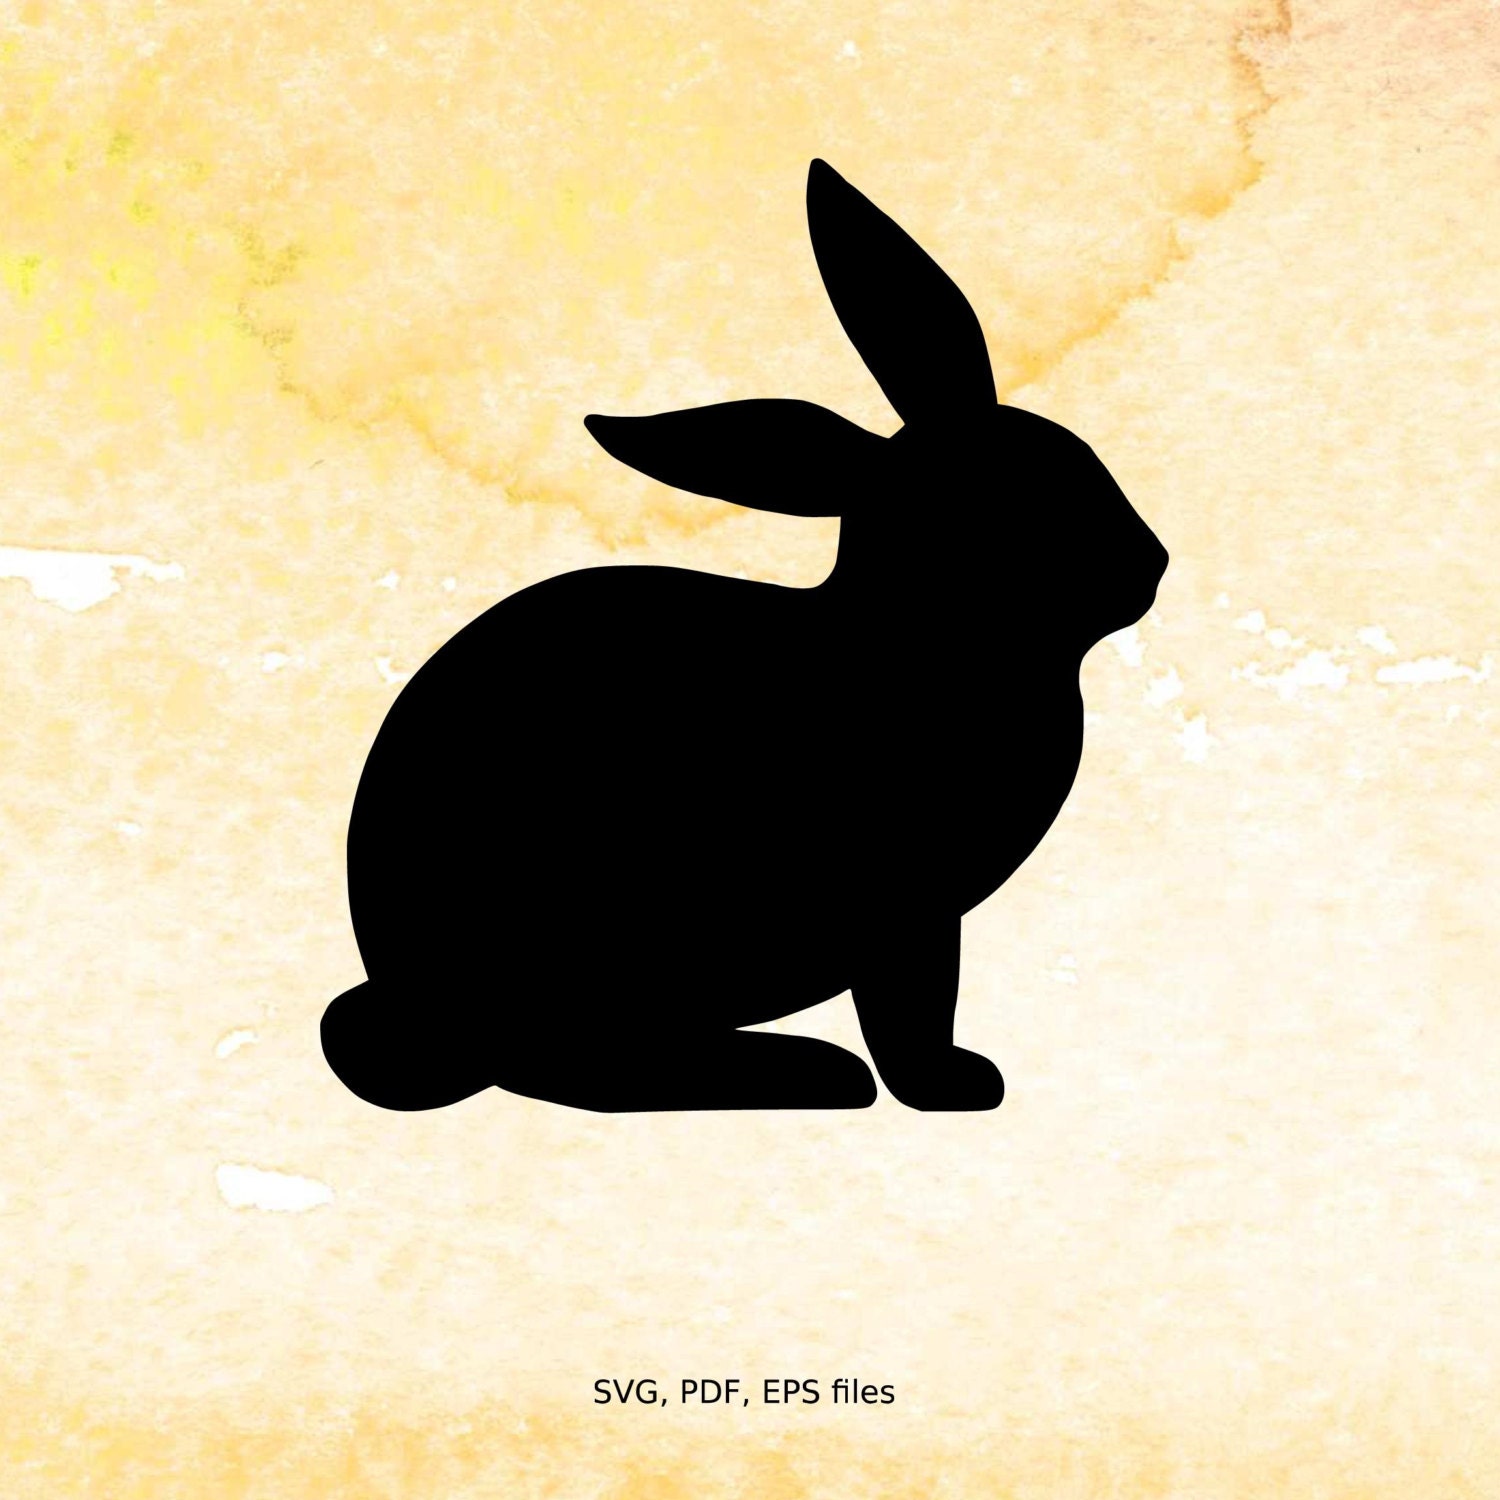
- Silhouette Bunnies: These files create solid, one-piece bunny shapes that can be used for simple decorations, paper crafts, or stenciling.
- Layered Bunnies: These files are made up of multiple layers, allowing you to create dimension and depth in your projects. They’re perfect for papercraft projects, shadow boxes, and layered wall art.
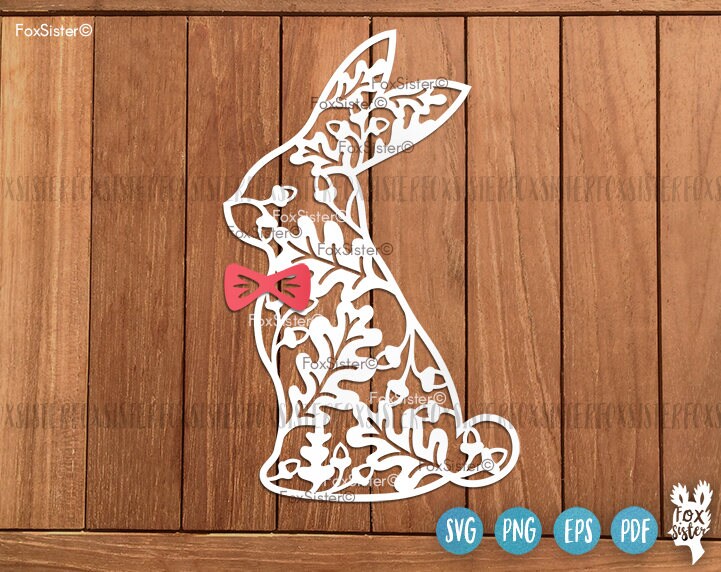
- Detailed Bunnies: These files feature intricate details, such as whiskers, fur textures, and accessories. They’re ideal for creating realistic-looking bunnies for scrapbooking, home décor, and gift-giving.
- Whimsical Bunnies: These files have a more playful and whimsical design, often featuring bunnies in different poses or with cute accessories. They’re perfect for creating adorable decorations, party supplies, and children’s crafts.

Choosing the Right Bunny Cut File:
When selecting a bunny cut file, consider the following factors:
Bunny cut files are an adorable and versatile resource for crafters of all skill levels. From intricate paper crafts to personalized home décor, these versatile designs offer endless possibilities for creativity. Whether you’re a seasoned pro or just starting out, this comprehensive guide will provide you with everything you need to know about bunny cut files, including tips, tricks, and troubleshooting.
- Easter SVGs Unveiling The Enchanting World Of Easter SVGs: A Comprehensive Guide For Creative Expressions
- Bluey Easter SVG Bluey Easter SVG: The Ultimate Guide To Festive Fun
- Easter Egg SVG Unleashing The Joy Of Easter With Enchanting SVG Designs
- 3 Bunnies SVG Elevate Your Creative Endeavors With 3 Bunnies SVG: A Comprehensive Guide
- 1st Easter SVG Free The Ultimate Guide To 1st Easter SVG Free: Everything You Need To Know
Introduction:
The charming silhouette of a bunny has captured the hearts of crafters around the world. With the advent of cutting machines, bunny cut files have become a popular choice for creating a wide range of projects. These digital designs allow you to precisely cut intricate bunny shapes from various materials, such as paper, vinyl, fabric, and wood.
Types of Bunny Cut Files:
There are numerous types of bunny cut files available online, catering to different crafting needs and styles. Some common varieties include:
- Project Type: Determine the intended use of the file, whether it’s for paper crafts, vinyl decals, fabric projects, or woodcutting.
- Material: Choose a file compatible with the material you plan to cut.
- Complexity: Select a file that aligns with your skill level. Intricate designs may require more experience and precision.
- File Format: Ensure the file format is compatible with your cutting machine. Common formats include SVG, DXF, and PNG.

Using Bunny Cut Files:
To use bunny cut files effectively, follow these steps:
- Import the File: Open your cutting software and import the bunny cut file.
- Adjust Settings: Set the cutting parameters based on the material you’re using.
- Position the Material: Place the material on the cutting mat and adjust the position as needed.
- Cut: Start the cutting process and wait for it to complete.
- Remove the Cut Shape: Once the cutting is finished, remove the cut bunny shape from the material.
Tips and Tricks:
- Use a Sharp Blade: A sharp blade will ensure clean and precise cuts.
- Test Cut: Perform a test cut on scrap material before cutting your final piece.
- Layer Different Materials: Combine different materials, such as paper and vinyl, to create unique and eye-catching projects.
- Experiment with Colors: Use different colors of paper, vinyl, or fabric to create vibrant and personalized bunnies.
- Add Embellishments: Enhance your bunny creations with embellishments like ribbons, beads, or glitter.
Troubleshooting:
If you encounter any issues while using bunny cut files, try the following troubleshooting steps:
- Double-Check File Compatibility: Ensure the file format is compatible with your cutting software.
- Inspect the Blade: Check the blade for dullness or damage.
- Adjust Pressure Settings: Adjust the cutting pressure to ensure it’s appropriate for the material you’re using.
- Reposition the Material: Ensure the material is placed securely on the cutting mat without any wrinkles or bubbles.
- Contact Customer Support: If you’re still experiencing issues, contact the seller or manufacturer of the cut file for assistance.
Frequently Asked Questions (FAQs):
- What is the best material for cutting bunny shapes?
Paper, vinyl, fabric, and wood are all suitable materials for cutting bunny shapes. The choice depends on the intended use of the project. - Can I use bunny cut files for commercial purposes?
The terms of use for bunny cut files vary. Some files are free for personal use only, while others may allow for commercial use with proper licensing. - Where can I find bunny cut files?
Bunny cut files are available for purchase or download from online marketplaces such as Etsy, Creative Market, and Silhouette Design Store. - What is the difference between a silhouette bunny and a layered bunny?
Silhouette bunnies are solid, one-piece shapes, while layered bunnies are made up of multiple layers that can be stacked to create dimension and depth. - How do I create a layered bunny project?
To create a layered bunny project, import the cut file into your software, arrange the layers in the desired order, and cut them out of the appropriate materials. Then, layer the pieces on top of each other to create a 3D effect.