Conclusion:
Embarking on the journey of crafting a 3D SVG shadow box is an adventure that will ignite your creativity and yield a stunning work of art. With careful planning, precise cutting, and meticulous assembly, you can transform a simple SVG design into a captivating three-dimensional masterpiece that adds depth and dimension to any space.
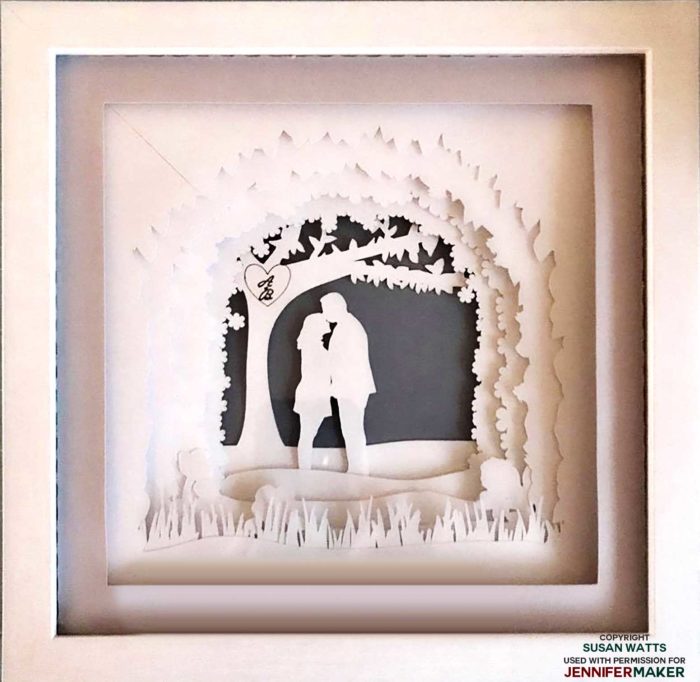
- Free Shadow Box Template For Cricut Elevate Your Crafting With Free Shadow Box Templates For Cricut: A Comprehensive Guide
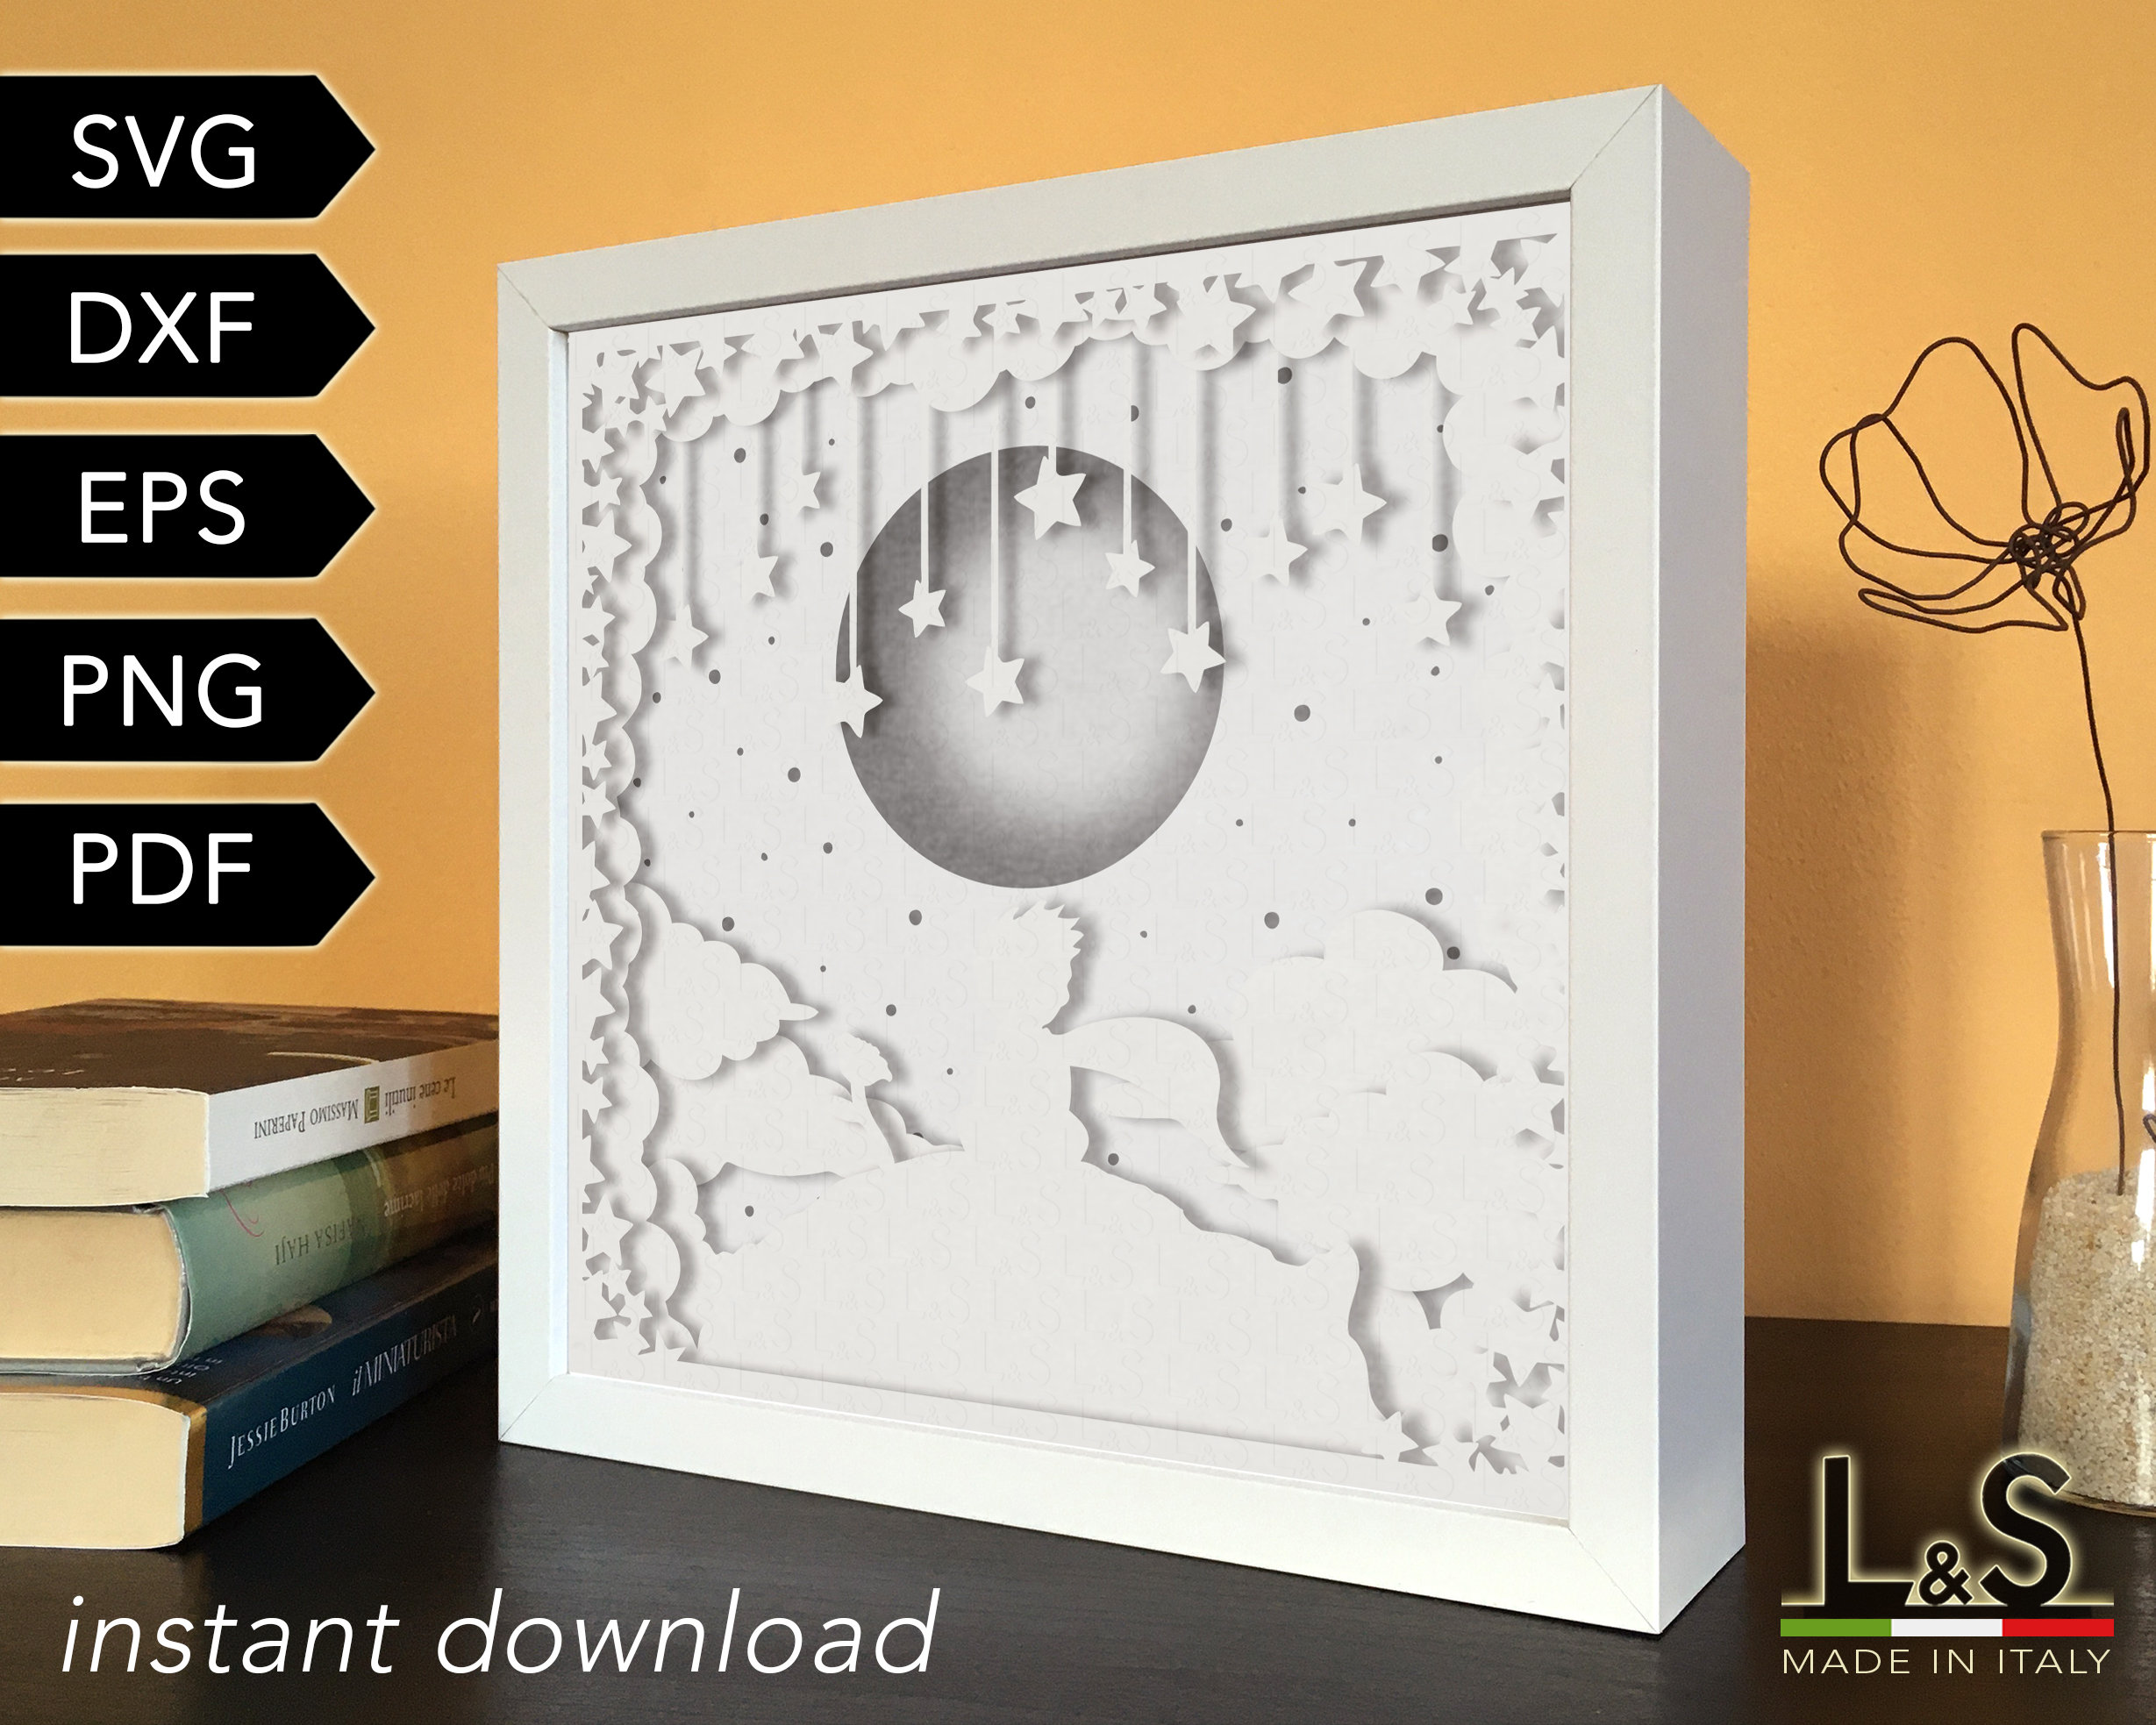
- Shadow Box SVG Shadow Box SVG: A Comprehensive Guide To Creating Depth And Dimension
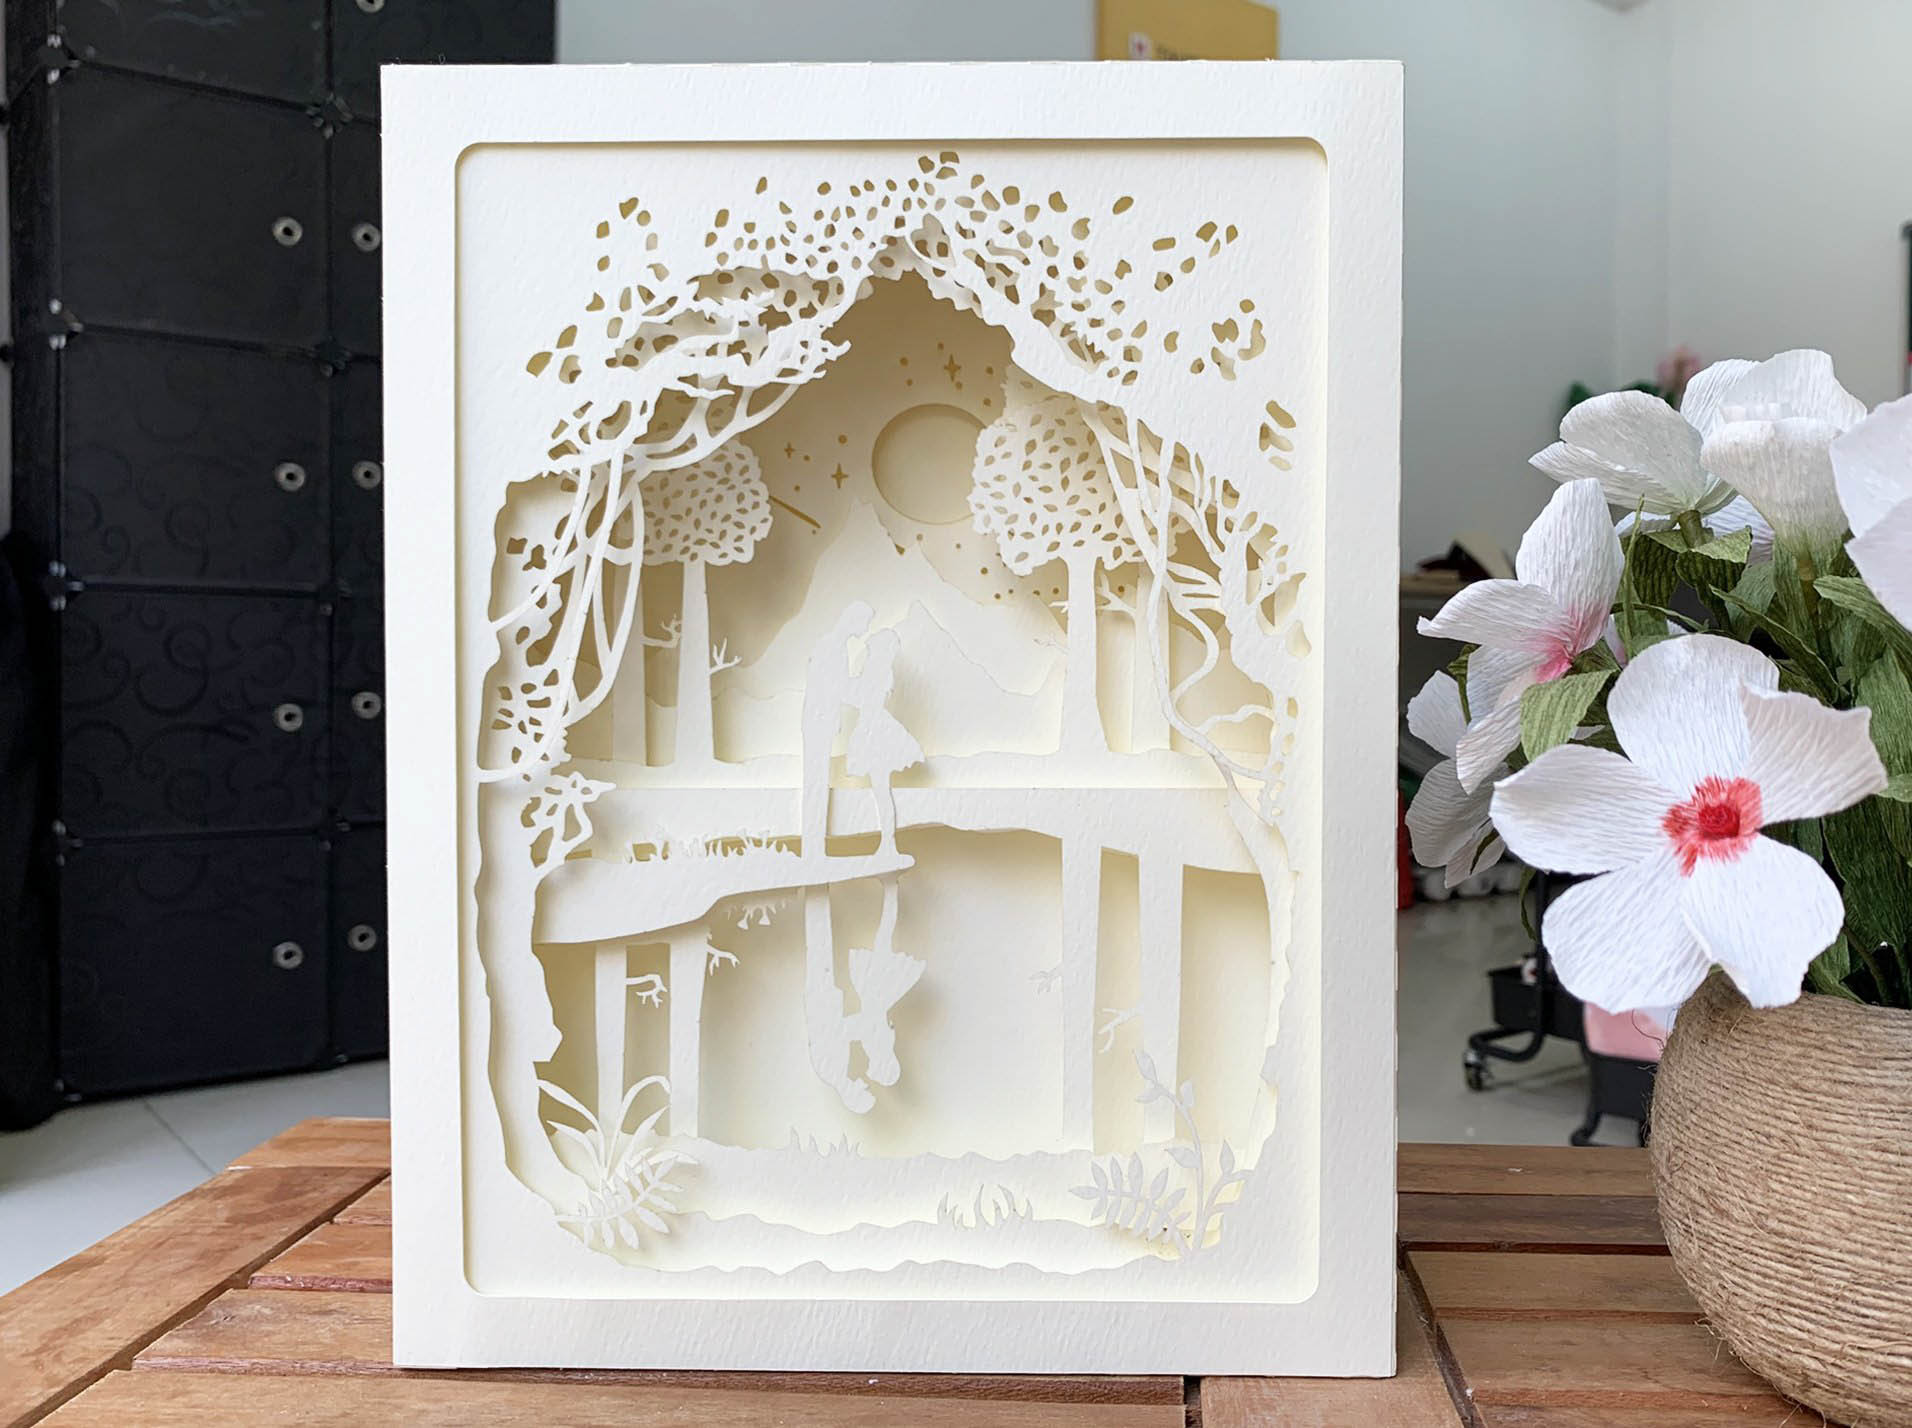
- Free Shadow Box SVG Free Shadow Box SVG: Elevate Your Papercraft Creations
- Layered Shadow Box SVG Free Dive Into The Enchanting World Of Layered Shadow Boxes: A Comprehensive Guide With Free SVG Files
- Shadow Box SVG Free Shadow Box SVG Free: Elevate Your Crafting Projects To New Heights
Introduction:
3D SVG shadow boxes have become increasingly popular as a means of creating eye-catching artwork with a unique three-dimensional effect. These shadow boxes combine the precision of digital design with the tactile nature of physical materials, resulting in pieces that are both visually appealing and incredibly satisfying to make. In this comprehensive guide, we will delve into the world of 3D SVG shadow boxes, providing you with a step-by-step tutorial and answering all your burning questions.
Materials You’ll Need:
- Use high-quality cardstock for a durable and professional-looking result.
- Score your folds carefully to prevent tearing.
- Apply glue sparingly to avoid creating a mess.
- Allow ample time for the glue to dry before handling the shadow box.
- Experiment with different SVG designs and materials to create unique and personalized pieces.
Step-by-Step Tutorial:
1. Design and Cut Your SVG:
Begin by selecting an SVG design that you would like to turn into a shadow box. There are numerous free and paid SVG files available online. Once you have chosen your design, import it into your cutting software and adjust the size to fit your desired shadow box frame. Send the design to your cutting machine and cut out the pieces from your chosen cardstock.
2. Score and Fold the Layers:
Next, use a scoring tool to create creases along the fold lines indicated on your SVG design. This will help you achieve clean and precise folds when assembling the box. Carefully fold the pieces along the scored lines.
3. Assemble the Layers:
Start by gluing the bottom layer of your design to the back of the shadow box frame. Then, layer the remaining pieces on top, gluing them together as you go. Ensure that each layer is aligned correctly and that the folds are crisp.
4. Add Embellishments (Optional):
Once the box is assembled, you can add embellishments to enhance its appearance. This could include painting, adding glitter, or attaching stickers. Let your creativity soar and personalize your shadow box to match your style.
5. Frame and Display:
Finally, place your completed 3D SVG shadow box inside the frame and secure it in place. Display your masterpiece in a prominent location where it can be admired by all.
Tips for Success:
FAQs:
Q: What is the difference between a 2D and 3D SVG shadow box?
A: A 2D shadow box is a flat design that creates the illusion of depth through layering, while a 3D shadow box uses actual depth and dimension to create a more realistic effect.
Q: Can I use any SVG design for a shadow box?
A: While most SVG designs can be used for shadow boxes, it’s important to consider the complexity of the design and the thickness of your cardstock. More intricate designs may require thinner cardstock or multiple layers to achieve the desired effect.
Q: How do I choose the right shadow box frame?
A: Select a frame that is slightly larger than the finished shadow box to allow for a small border around the edges. The depth of the frame should be sufficient to accommodate the layers of your design.
Q: Can I sell my 3D SVG shadow boxes?
A: Yes, you can sell your 3D SVG shadow boxes as long as you have the appropriate licenses for the SVG design and any commercial fonts or images used.
Q: How do I clean my 3D SVG shadow box?
A: Use a soft brush or cloth to gently remove dust. Avoid using water or harsh cleaning agents, as they could damage the cardstock or embellishments.