Immerse yourself in the captivating realm of 3D lighted shadow boxes, where intricate layers of paper and light intertwine to create mesmerizing works of art. With their ethereal glow and captivating depth, these shadow boxes transcend the boundaries of ordinary décor, transforming any space into a sanctuary of wonder and imagination.
A Symphony of Shadows and Light

Immerse yourself in the captivating realm of 3D lighted shadow boxes, where intricate layers of paper and light intertwine to create mesmerizing works of art. With their ethereal glow and captivating depth, these shadow boxes transcend the boundaries of ordinary décor, transforming any space into a sanctuary of wonder and imagination.
Embarking on the journey of creating your own 3D lighted shadow box is an adventure filled with creativity and satisfaction. Here’s a step-by-step guide to help you get started:
-
Gather Your Materials: You’ll need an SVG file, cardstock in various colors, a cutting machine (e.g., Cricut or Silhouette), adhesive (e.g., glue or double-sided tape), LED lights, a shadow box frame, and a ruler or measuring tape.

-
Prepare Your SVG File: Open the SVG file in your cutting software and adjust the size as desired.

A Symphony of Shadows and Light
- 3d Shadow Box SVG Free 3D Shadow Box SVG Free: Elevate Your Paper Crafts With Depth And Dimension
- Free Shadow Box SVG Free Shadow Box SVG: Elevate Your Papercraft Creations
- Beach Shadow Box SVG Beach Shadow Box SVG: Capture The Essence Of Summer In Your Home
- Free Christmas Shadow Box SVG Create A Festive Atmosphere With Free Christmas Shadow Box SVG
- 3d SVG Shadow Box 3D SVG Shadow Box: A Step-by-Step Guide To Creating A Unique And Eye-Catching Artwork
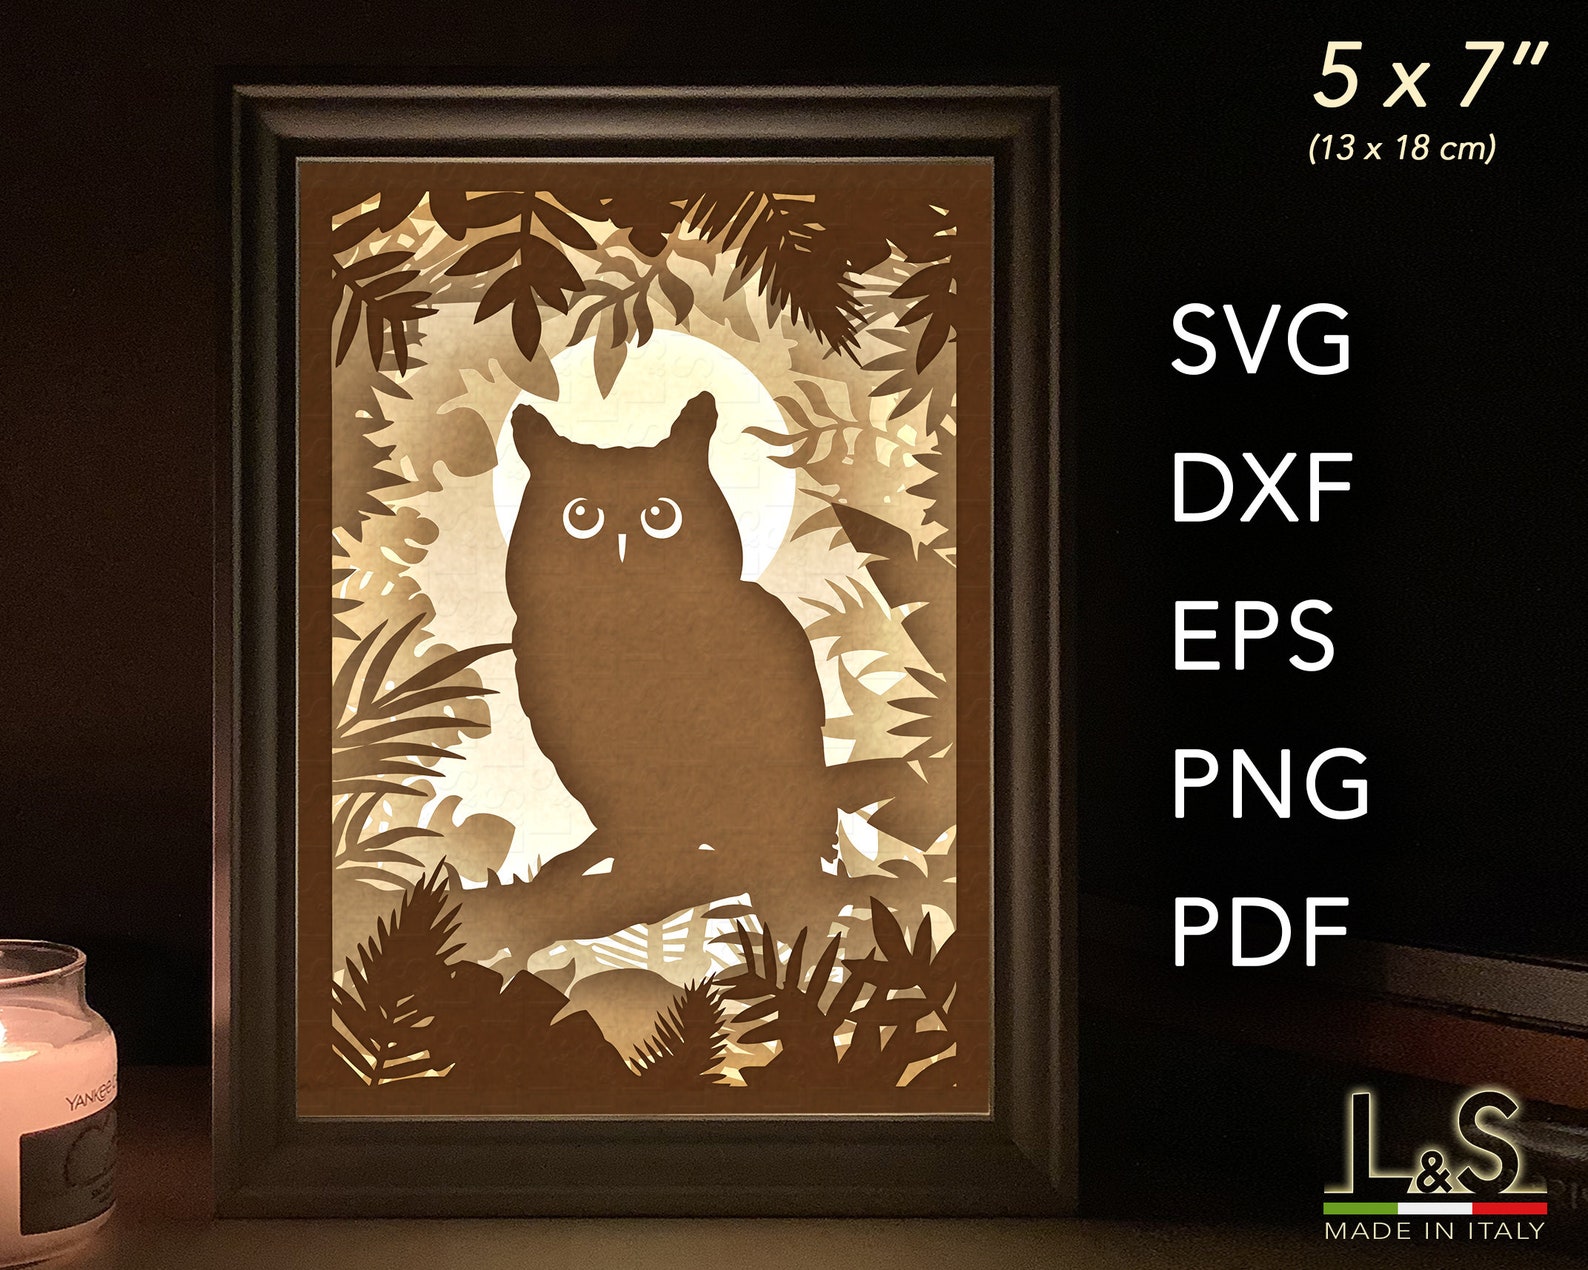
At the heart of every 3D lighted shadow box lies a harmonious interplay of shadows and light. Layers of paper, meticulously cut using SVG (Scalable Vector Graphics) files, are carefully assembled to create a multidimensional effect. As light filters through the intricate designs, it casts captivating shadows that dance and shimmer, bringing the scene to life.
Endless Possibilities for Customization
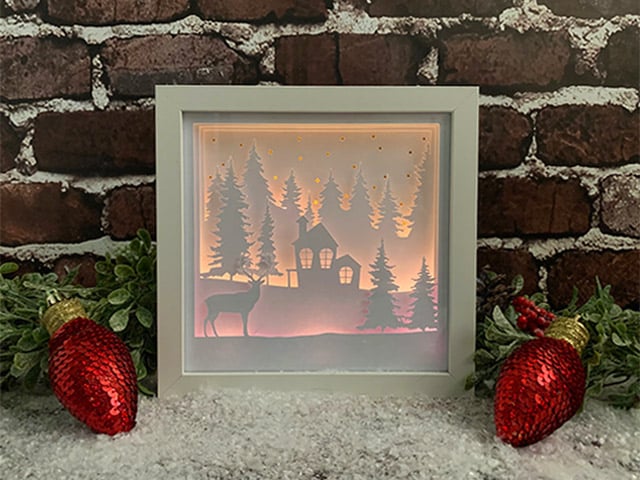
The beauty of 3D lighted shadow boxes lies in their boundless customization options. SVG files offer a vast array of designs, from whimsical animals and enchanting fairy tales to breathtaking landscapes and captivating abstracts. Whether you prefer intricate floral patterns, geometric shapes, or personalized designs featuring your own photos, the possibilities are truly endless.
Step-by-Step Guide to Creating Your Own Masterpiece


Cut Your Layers: Cut the layers of your design from different colors of cardstock using your cutting machine.
Assemble the Layers: Layer the cut pieces together, starting with the background and working your way forward. Use adhesive to secure each layer in place.


Add LED Lights: Position the LED lights inside the shadow box frame and secure them with adhesive.
Place the Layers in the Frame: Carefully place the assembled layers into the shadow box frame, ensuring they are centered and secure.
Illuminate Your Creation: Turn on the LED lights and marvel at the enchanting display of light and shadow.
FAQs
What is the best cardstock to use for 3D lighted shadow boxes?
For optimal results, use high-quality cardstock that is at least 80lb weight. This will ensure durability and prevent warping over time.
How do I choose the right LED lights?
Consider the size and depth of your shadow box when selecting LED lights. Opt for lights that are bright enough to illuminate the layers effectively without overpowering them.
Can I use other materials besides paper?
While paper is the most common material used in 3D lighted shadow boxes, you can experiment with other materials such as fabric, vellum, or acetate to create unique effects.
How do I prevent the shadow box from overheating?
Ensure that the LED lights you use are low-heat or energy-efficient to prevent the shadow box from becoming too warm.
Conclusion
3D lighted shadow boxes are a testament to the transformative power of creativity and the magic that can be found in the interplay of light and shadow. Whether you’re a seasoned crafter or a curious beginner, the journey of creating these enchanting works of art is sure to ignite your imagination and bring a touch of whimsy and wonder into your life.